Do You Want to Survive the Vapocalypse?
By Onion Madder · Mess O' Pedals
Dope, me too. Who's got ten fingers and gonna show you how to wire scavenged lithium cells into a rechargeable battery pack using two disposable vapes? Also me.
Call that free power for desert scavengers (and those who wish to emulate us).
Disposable vapes, at least all the ones I've ever found, are made with tiny little lithium-ion cells that can be scavenged (with care!), and repurposed for cell-powered electronic projects.
Need more voltage? Wire the cells in series instead: two gives you 7.4V, three gives you 11.1V, which is what the 555/556 and CMOS synth builds want. More Volts or More Hours? has the wiring diagrams for both.
⚠ Safety first tap to expand / collapse
The biggest things to worry about when scavenging cells:
- Watch out for your fingies! Sharp metal. A lot of these are metal-bodied and the edges get wicked sharp once you start snipping — it's easy to cut yourself wicked bad if you're not careful. Go slow, and mind your tips.
- Watch out for your lungs! Lead & other gross stuff. There's lead and nasty stuff inside, so be cautious — don't breathe any dust, wash your hands after, and dispose of the throwaway bits responsibly.
- Watch out for your cells! It's a real lithium cell. Don't puncture, crush, or short it — a damaged or shorted cell can get hot or catch fire. Work on a non-flammable surface, keep the terminals from touching, treat any puffy/hot/damaged cell with extra care, and charge only with a properly rated Li-ion charger (~4.2V max).
What you'll need
New to the parts? Each line notes how to spot it — what to look for so you grab the right thing.
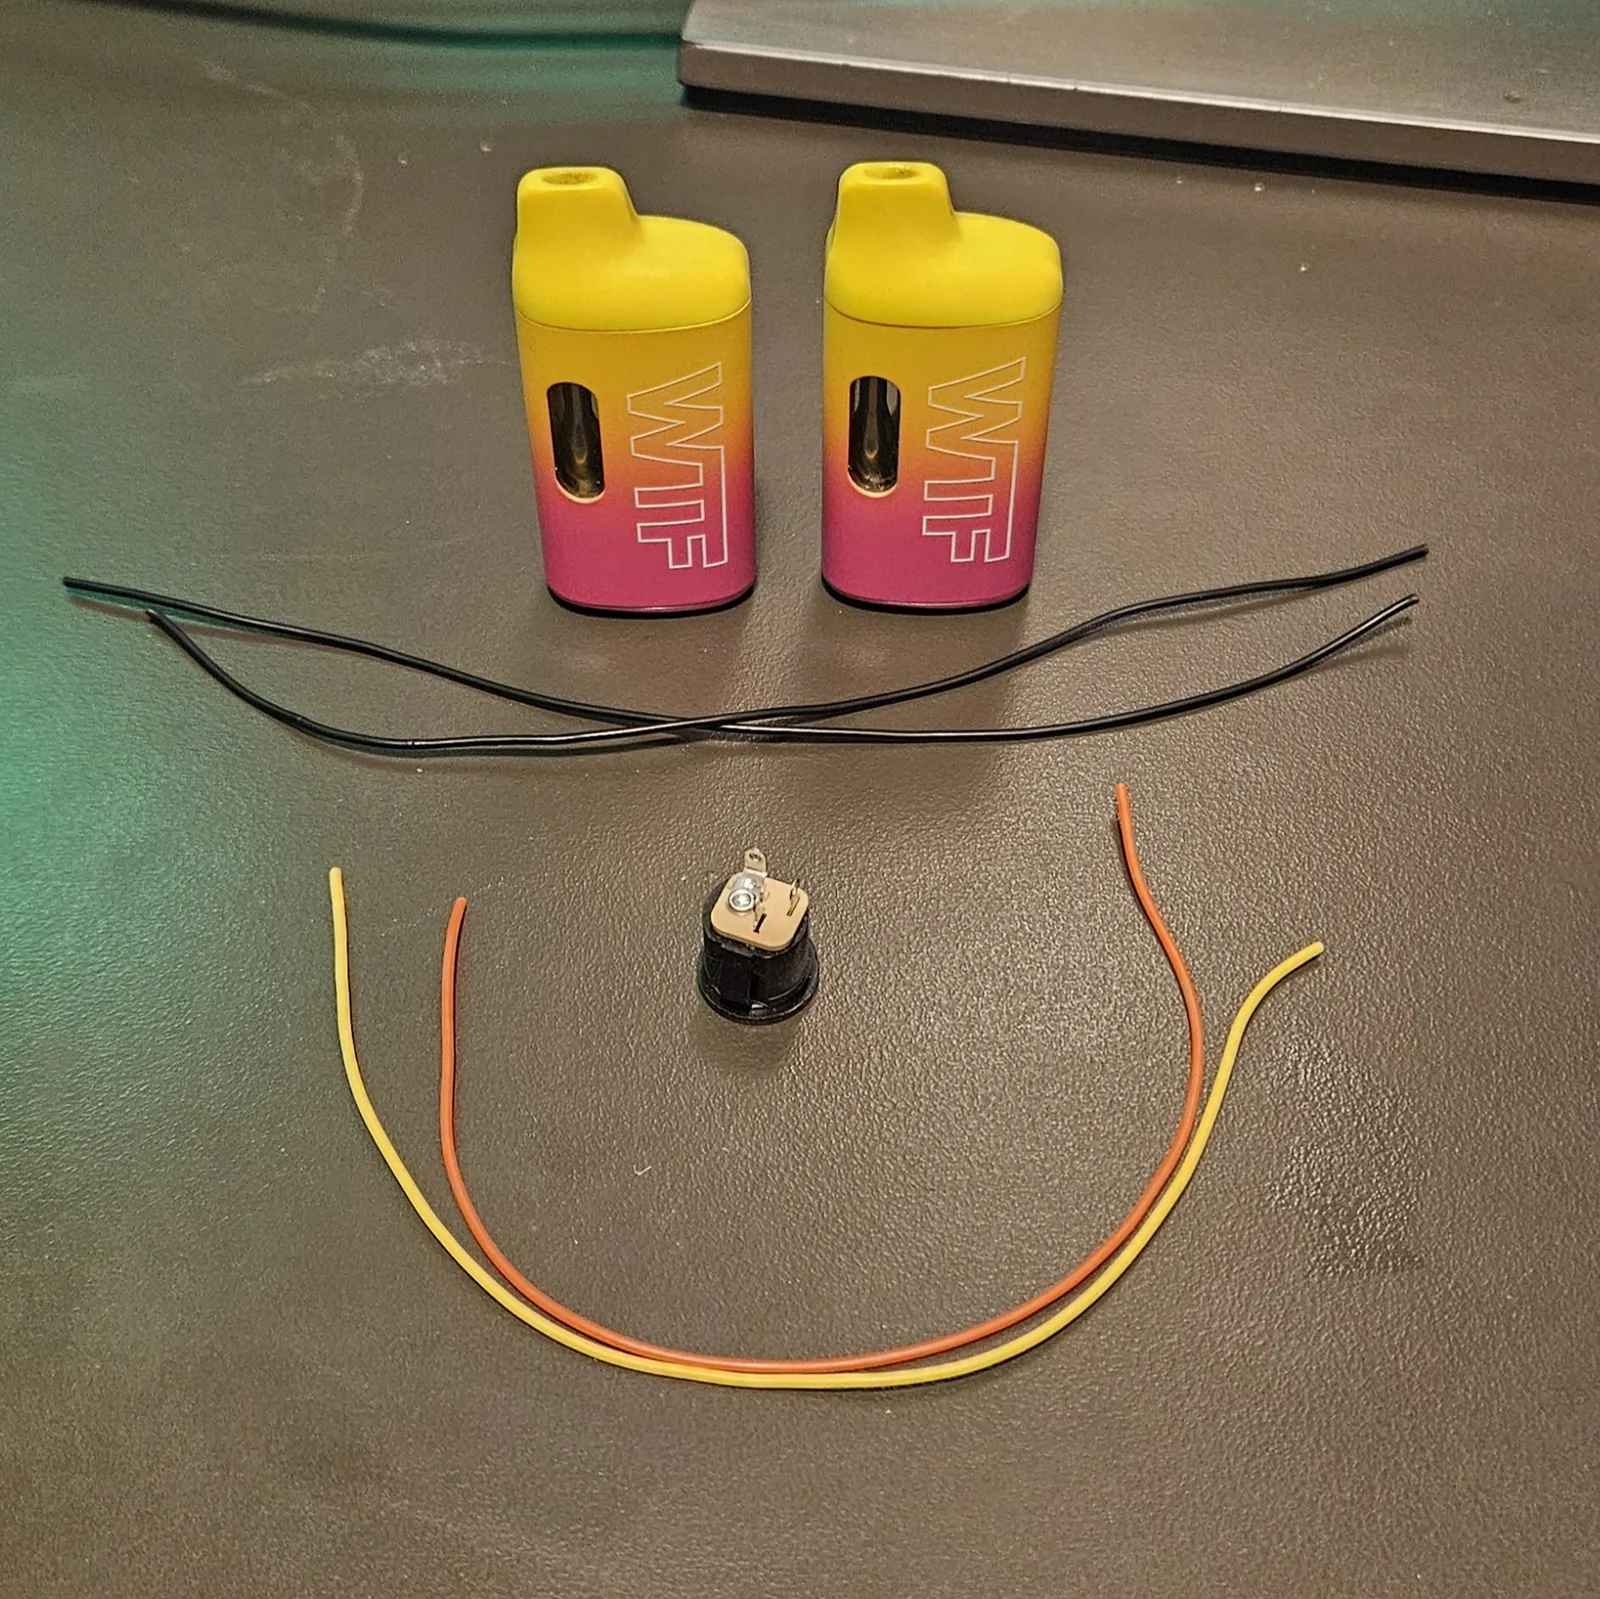
- 2× used disposable vapes — the rechargeable kind (easier if they're the same brand). Spot it: a rechargeable has a USB-C charging port — that port is the tell there's a real lithium cell inside worth saving
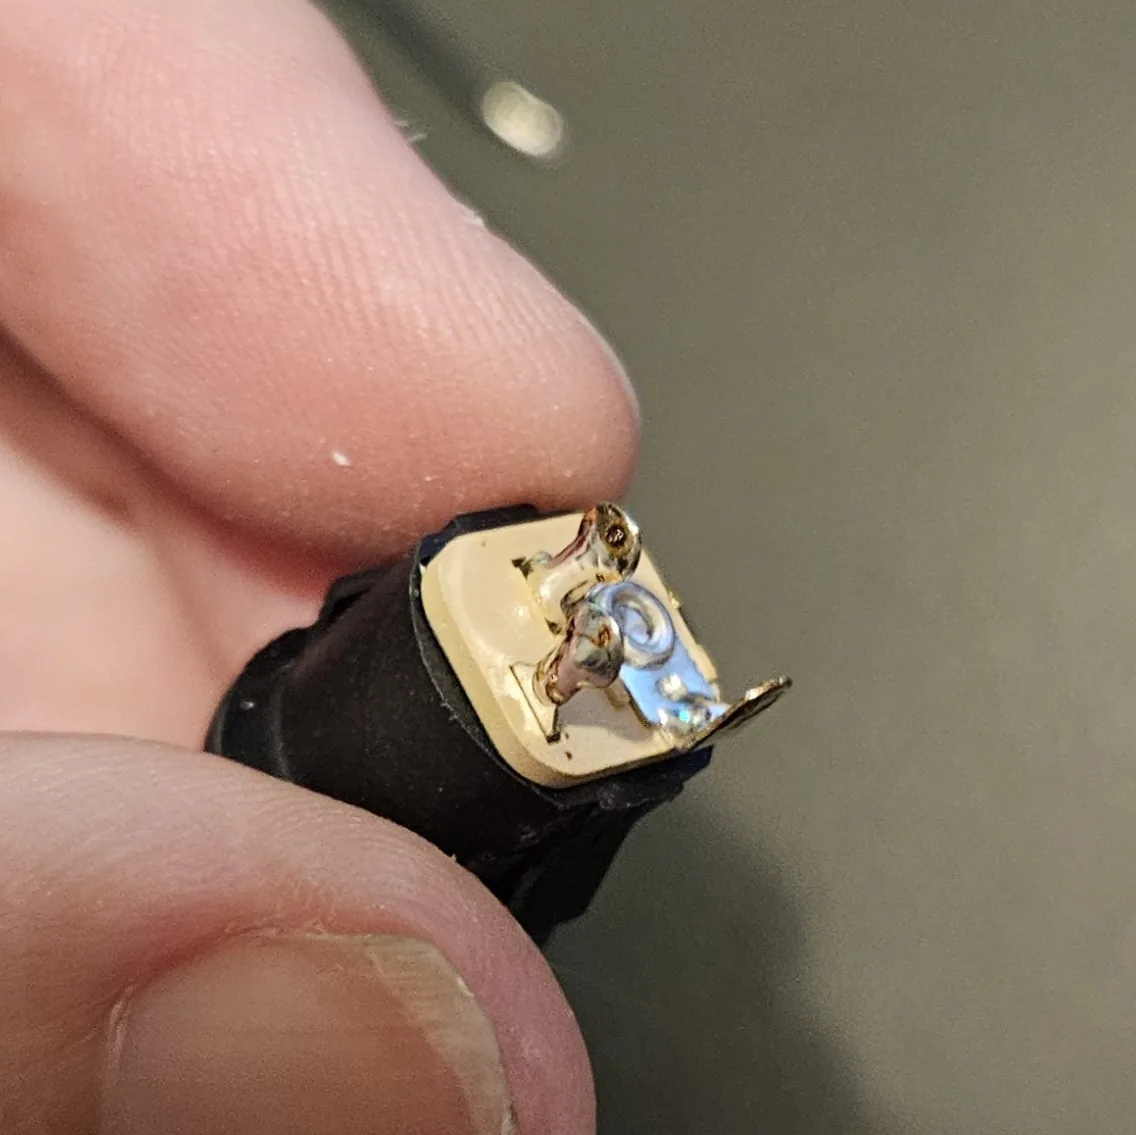
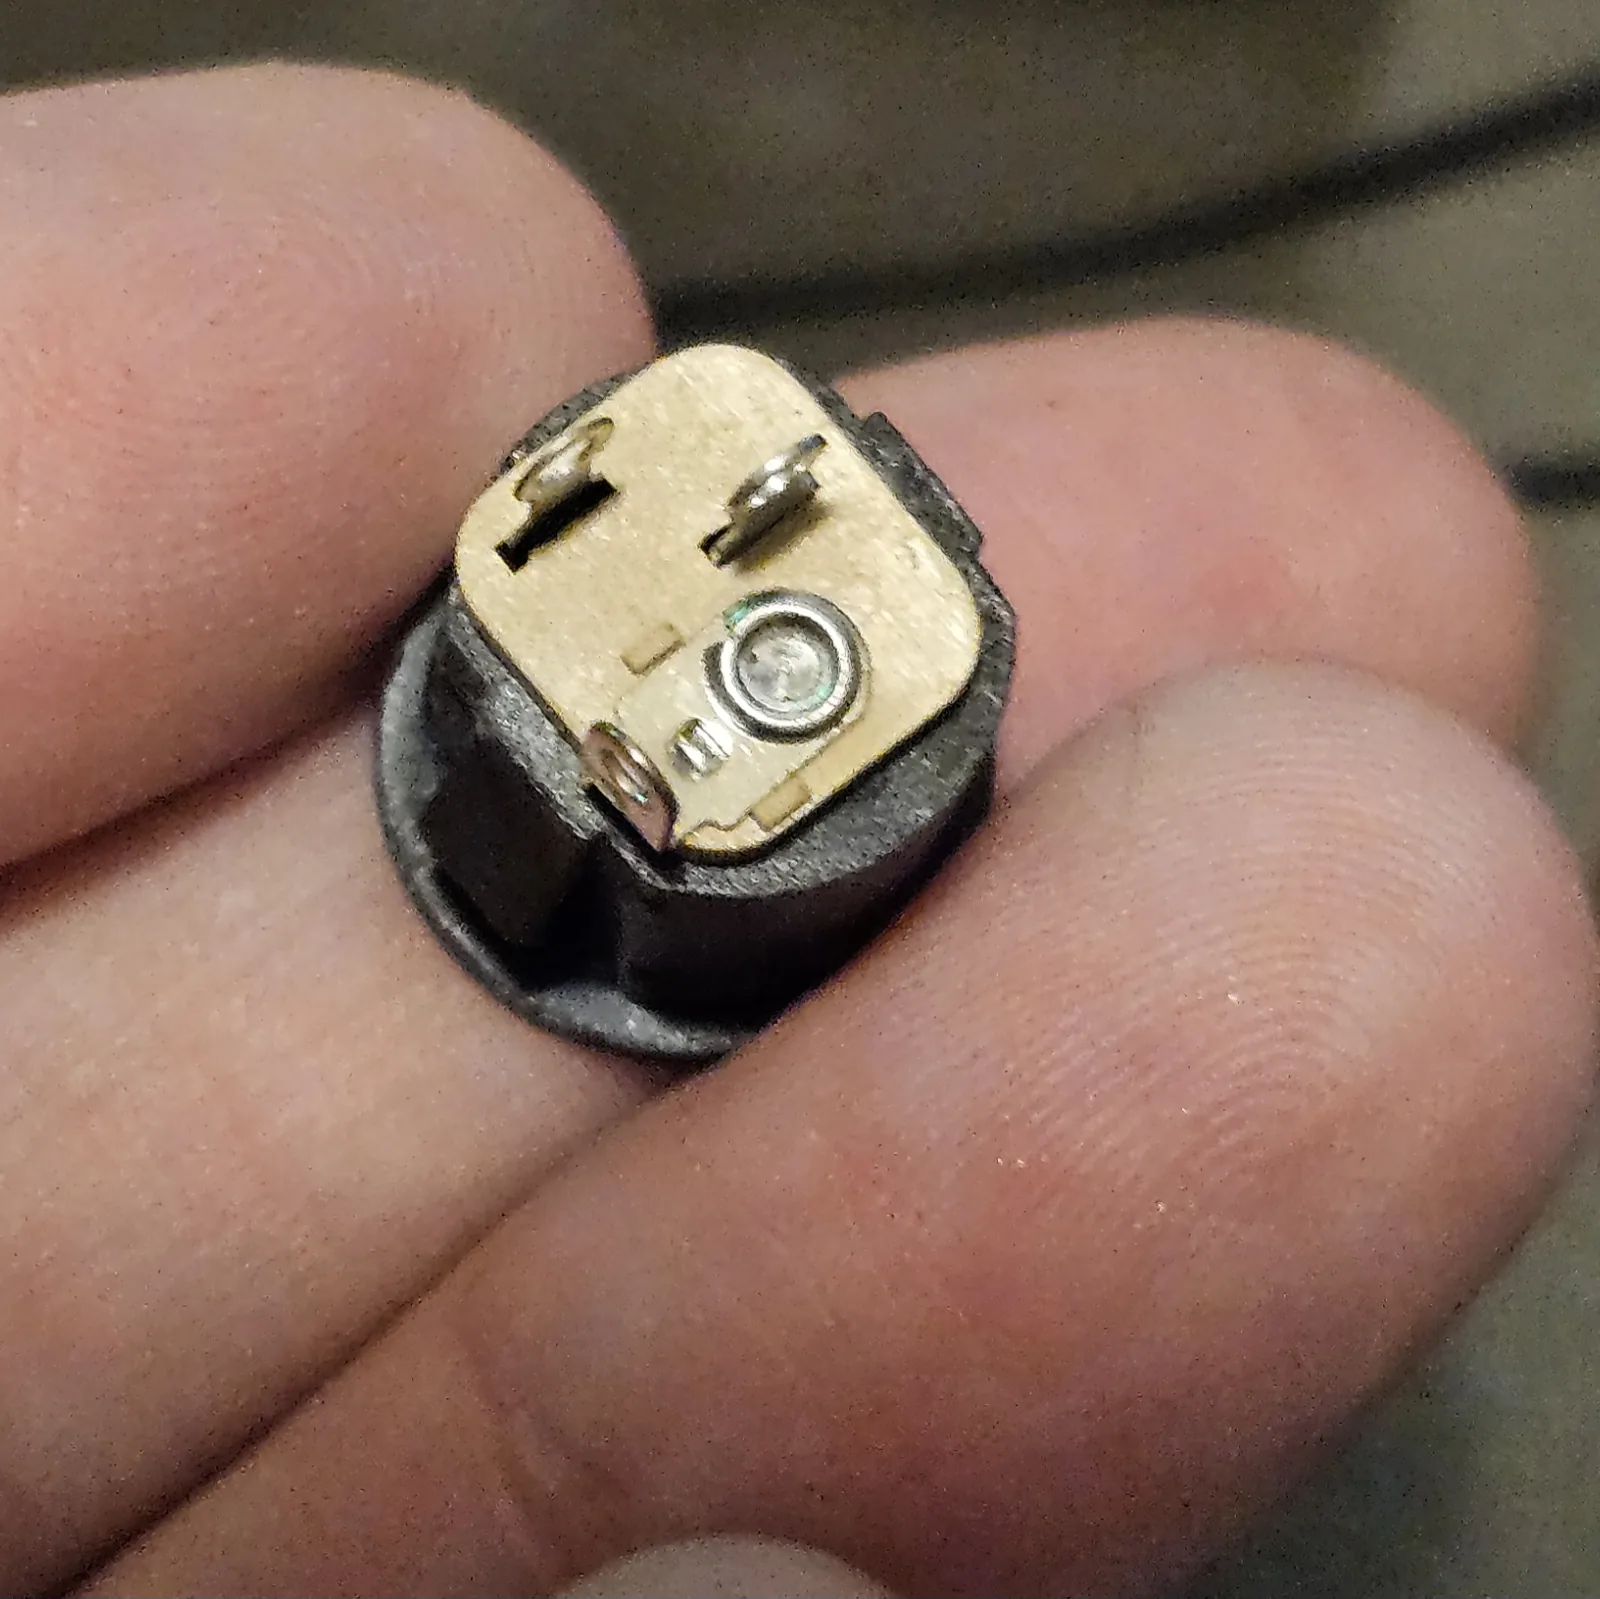
- 1× switched DC power jack — a barrel jack with an extra switch lug (three tabs, not two), so plugging a charger in flips the cells over to charging
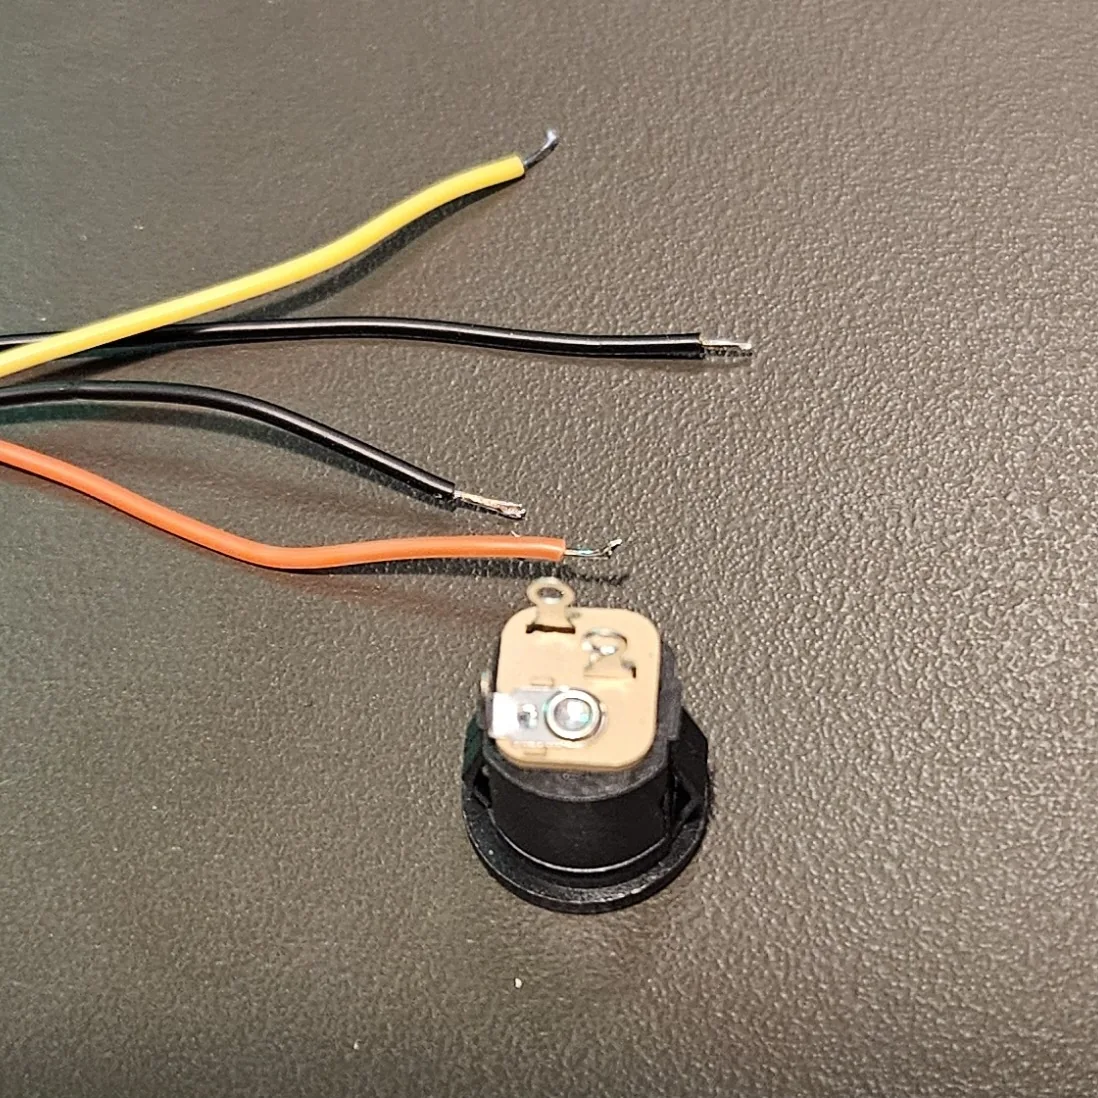
- Two lengths of black wire — ground / negative
- One length of red wire — voltage / positive out
- One length of yellow wire — the battery tap (the colors are just so you can tell the roles apart later)
- Snips, pliers, a pry tool for the vapes, electrical tape
- Soldering iron + solder
- Multimeter — for checking each cell before you join anything (a healthy cell reads 3.7–4.2V)
Step 1 Meet the donors
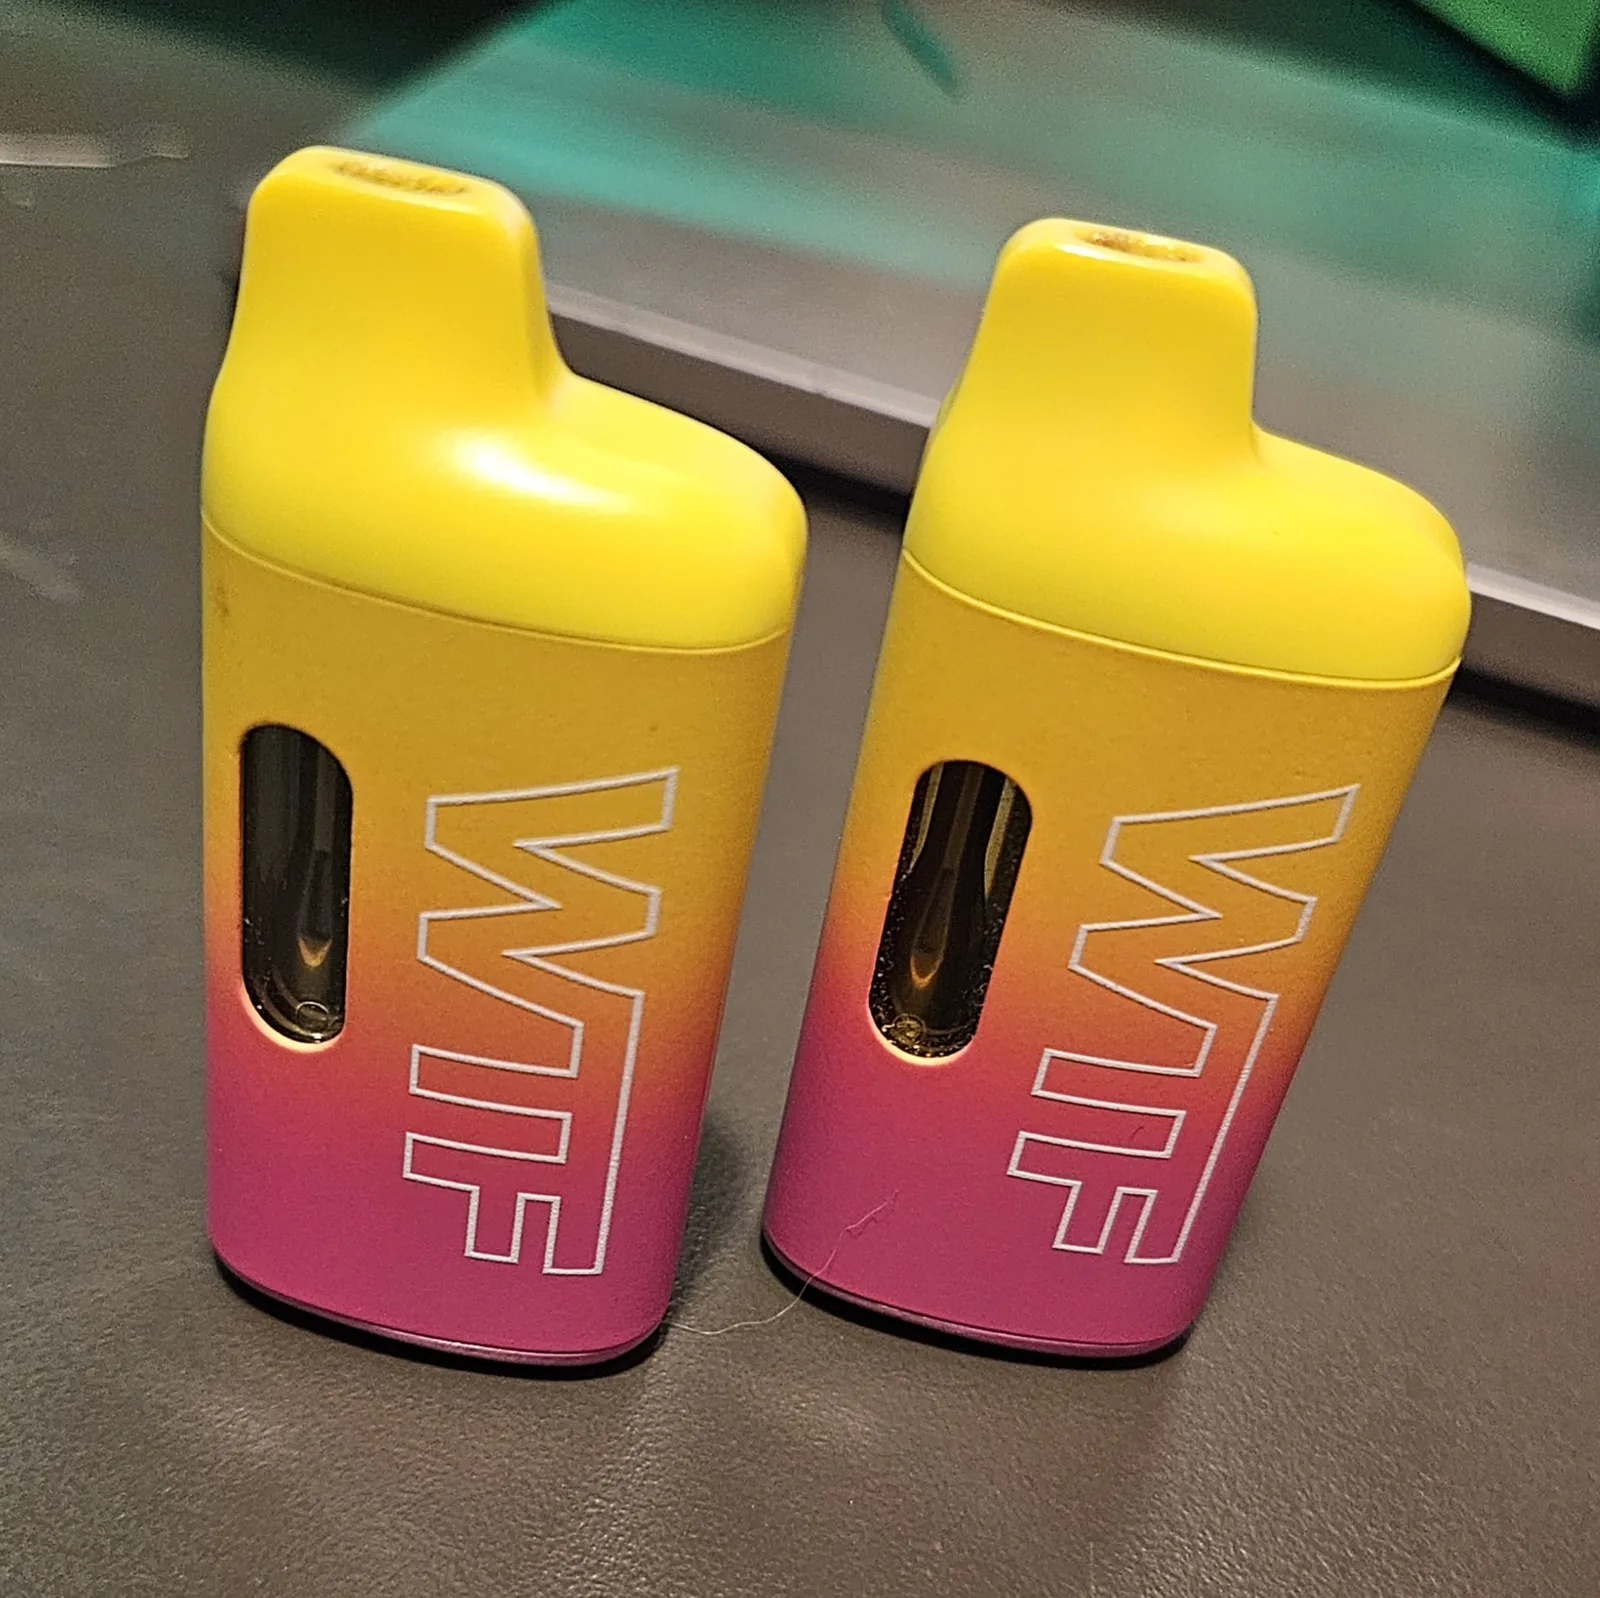
Say hi to the girls. You want the rechargeable kind of disposable — one with a real lithium cell inside, not a spent little throwaway. The easy tell is a USB-C charging port on the vape; if it's got one, there's a healthy rechargeable cell in there waiting to be set free. Matching brands makes the next steps line up a little nicer, but it's not the law.
Step 2 Crack them open
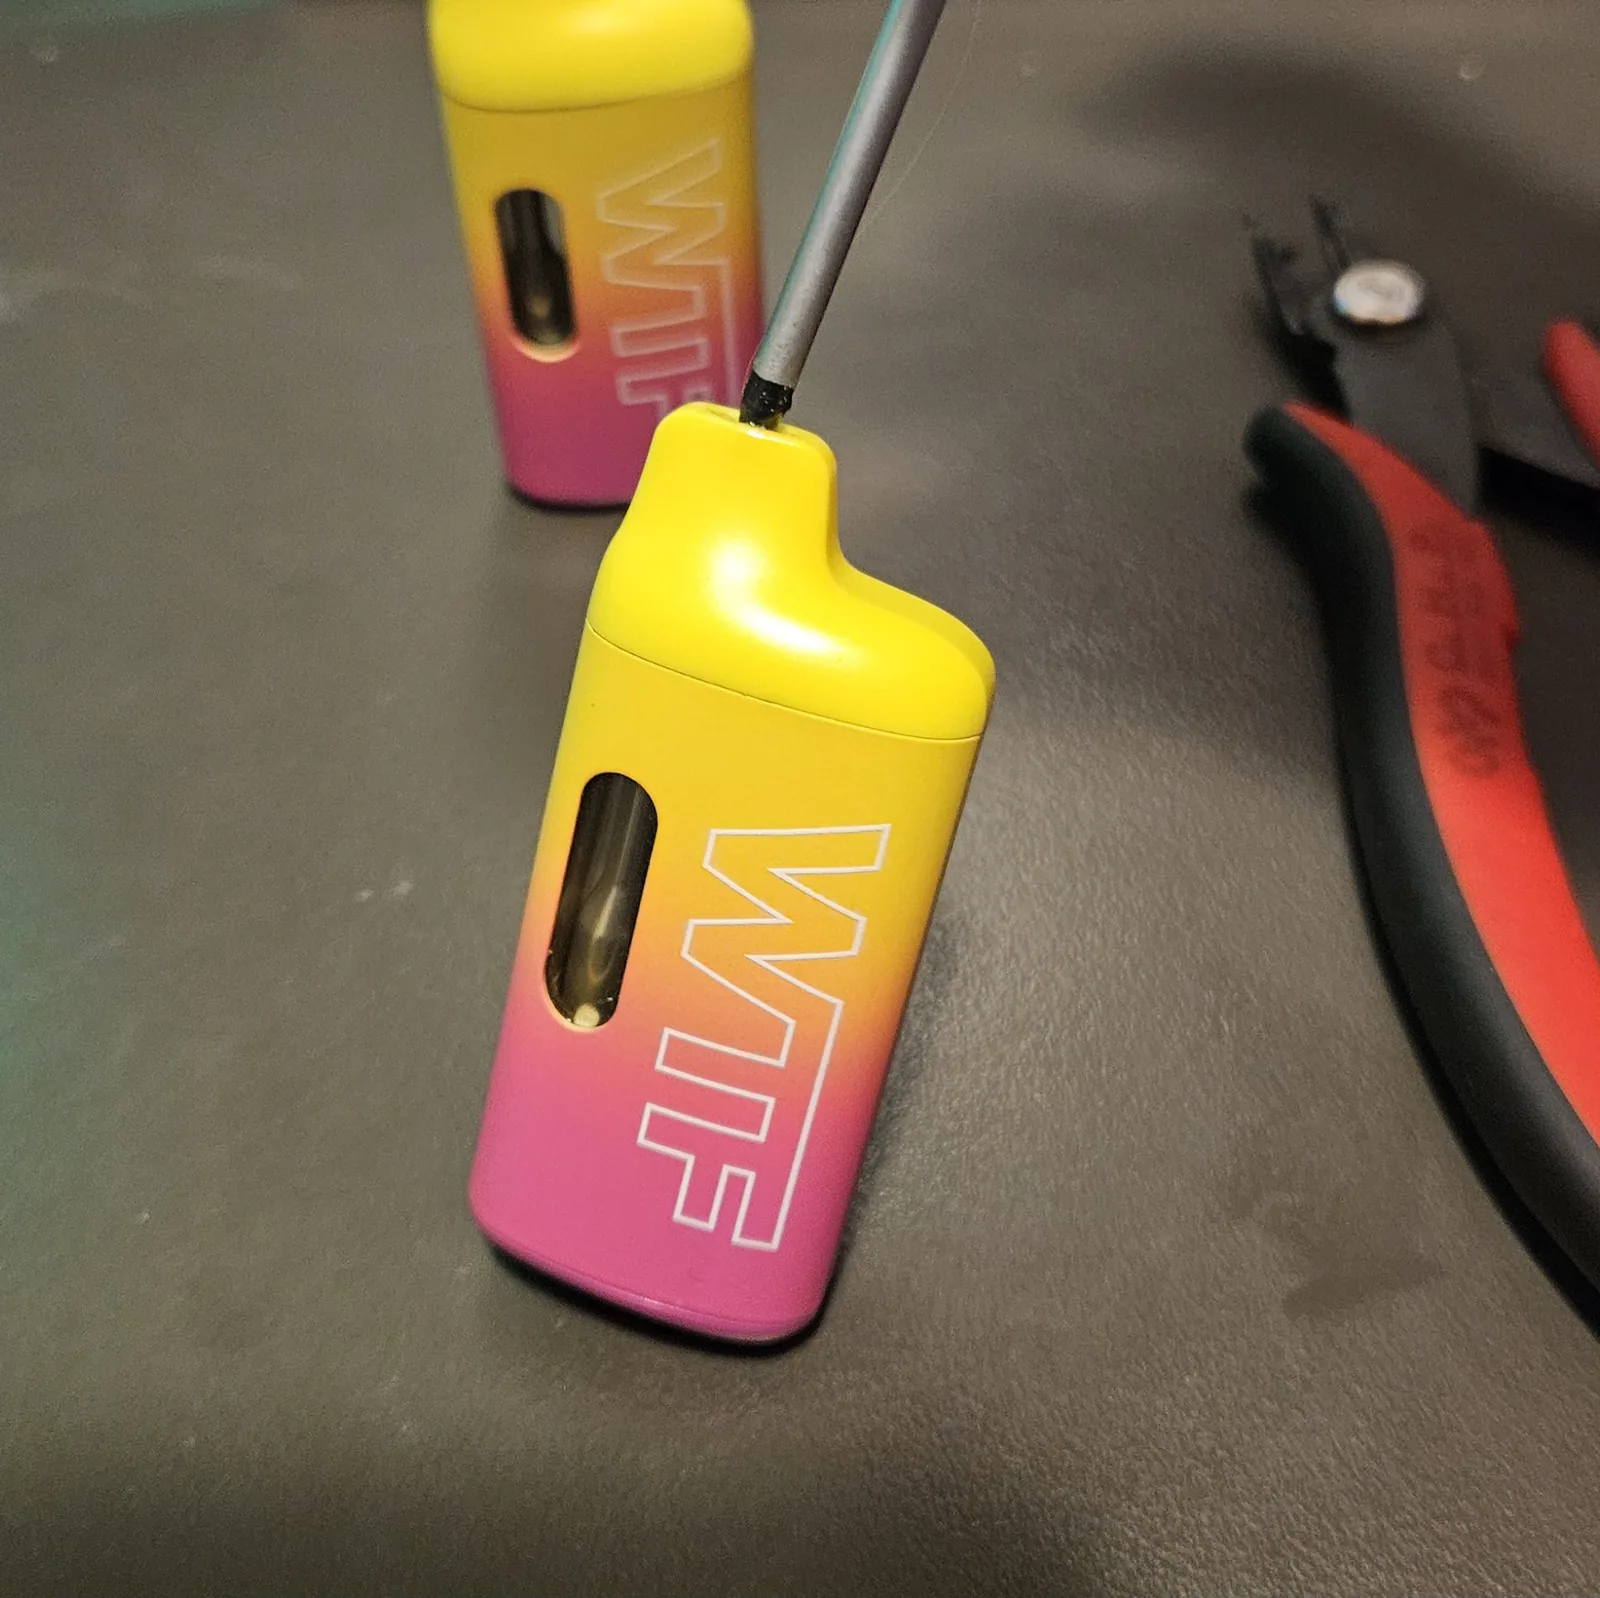
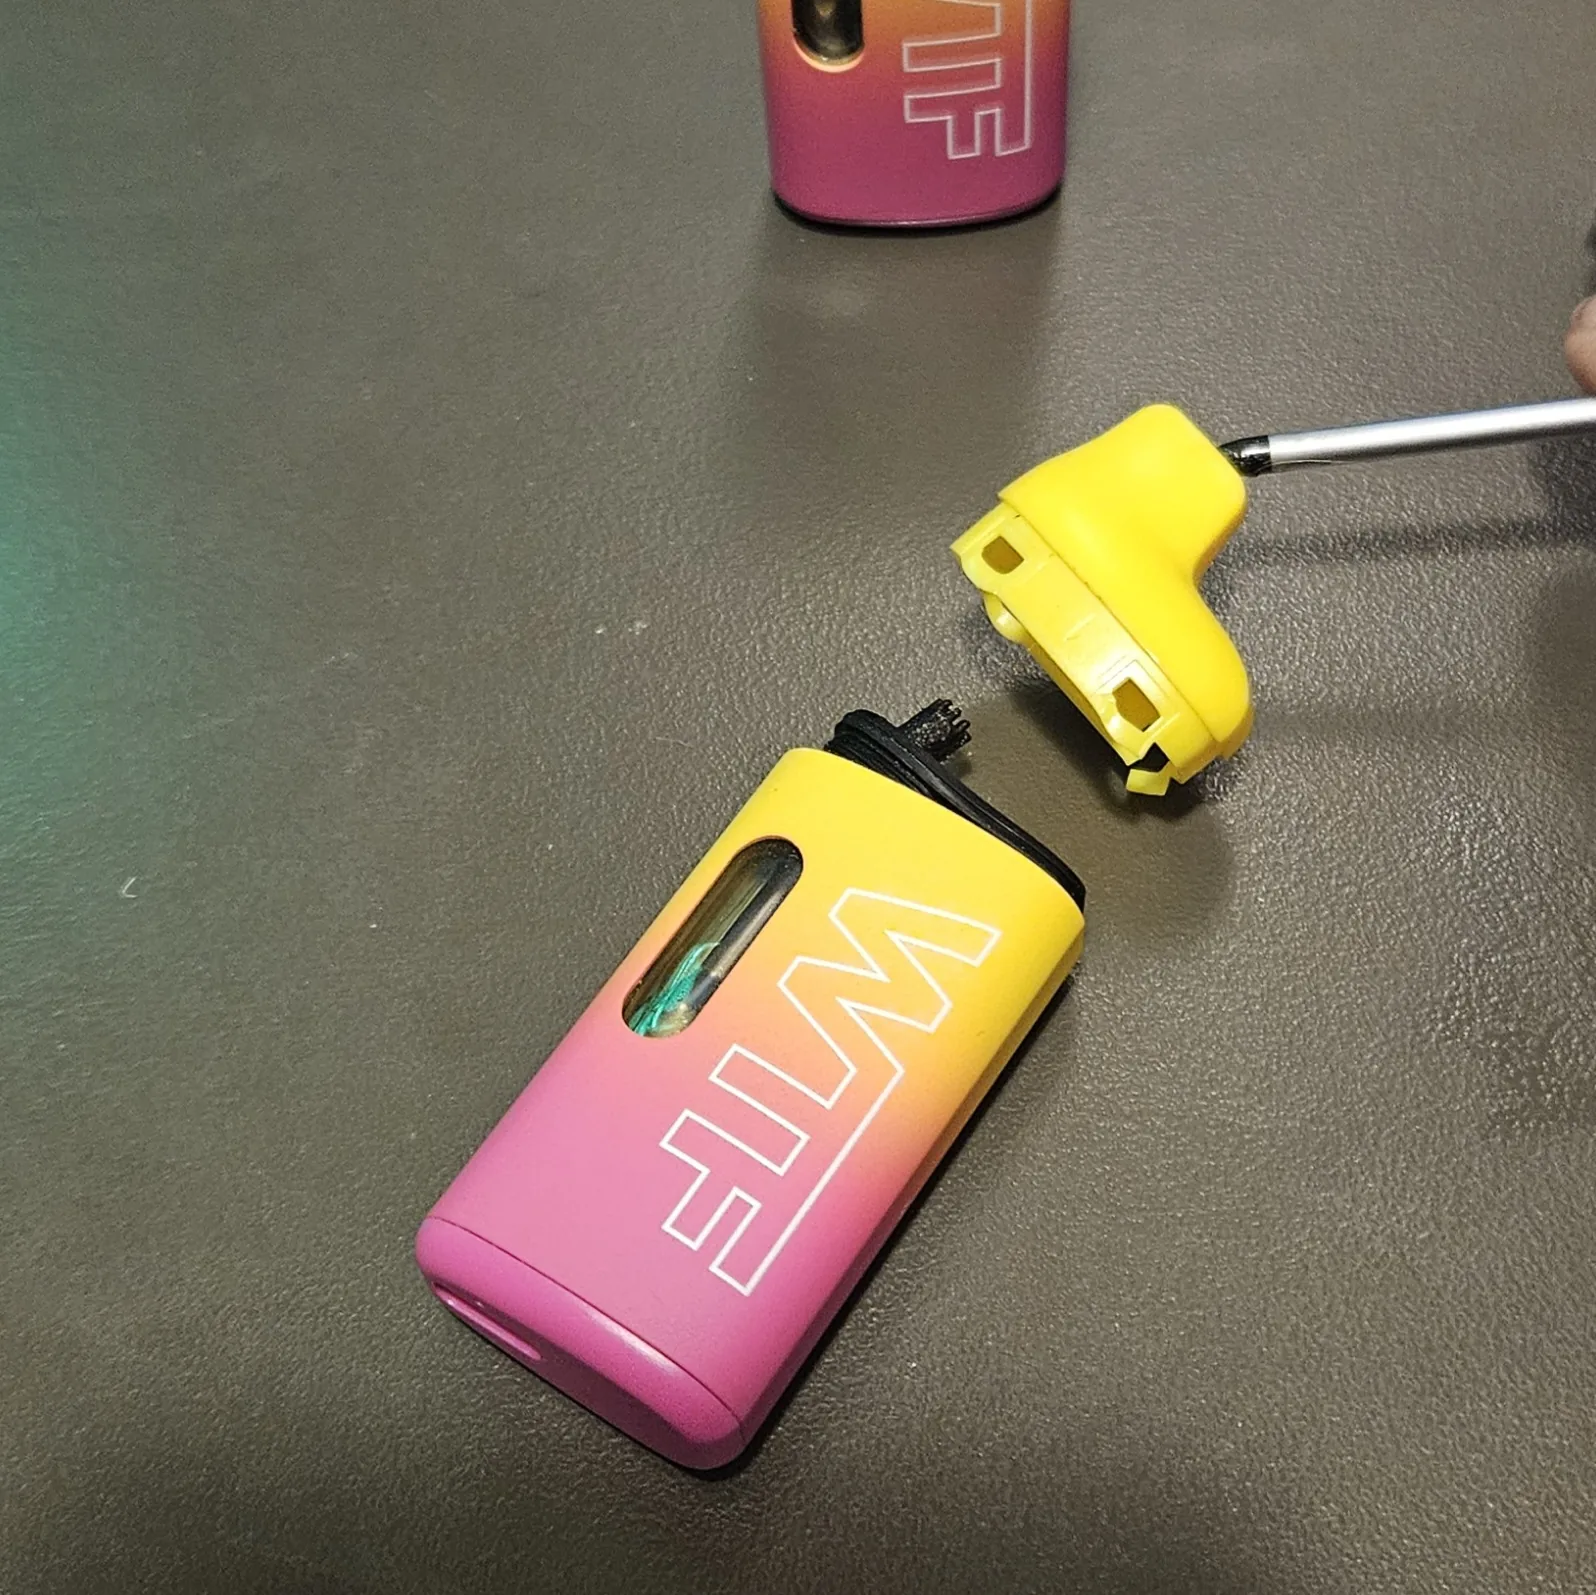
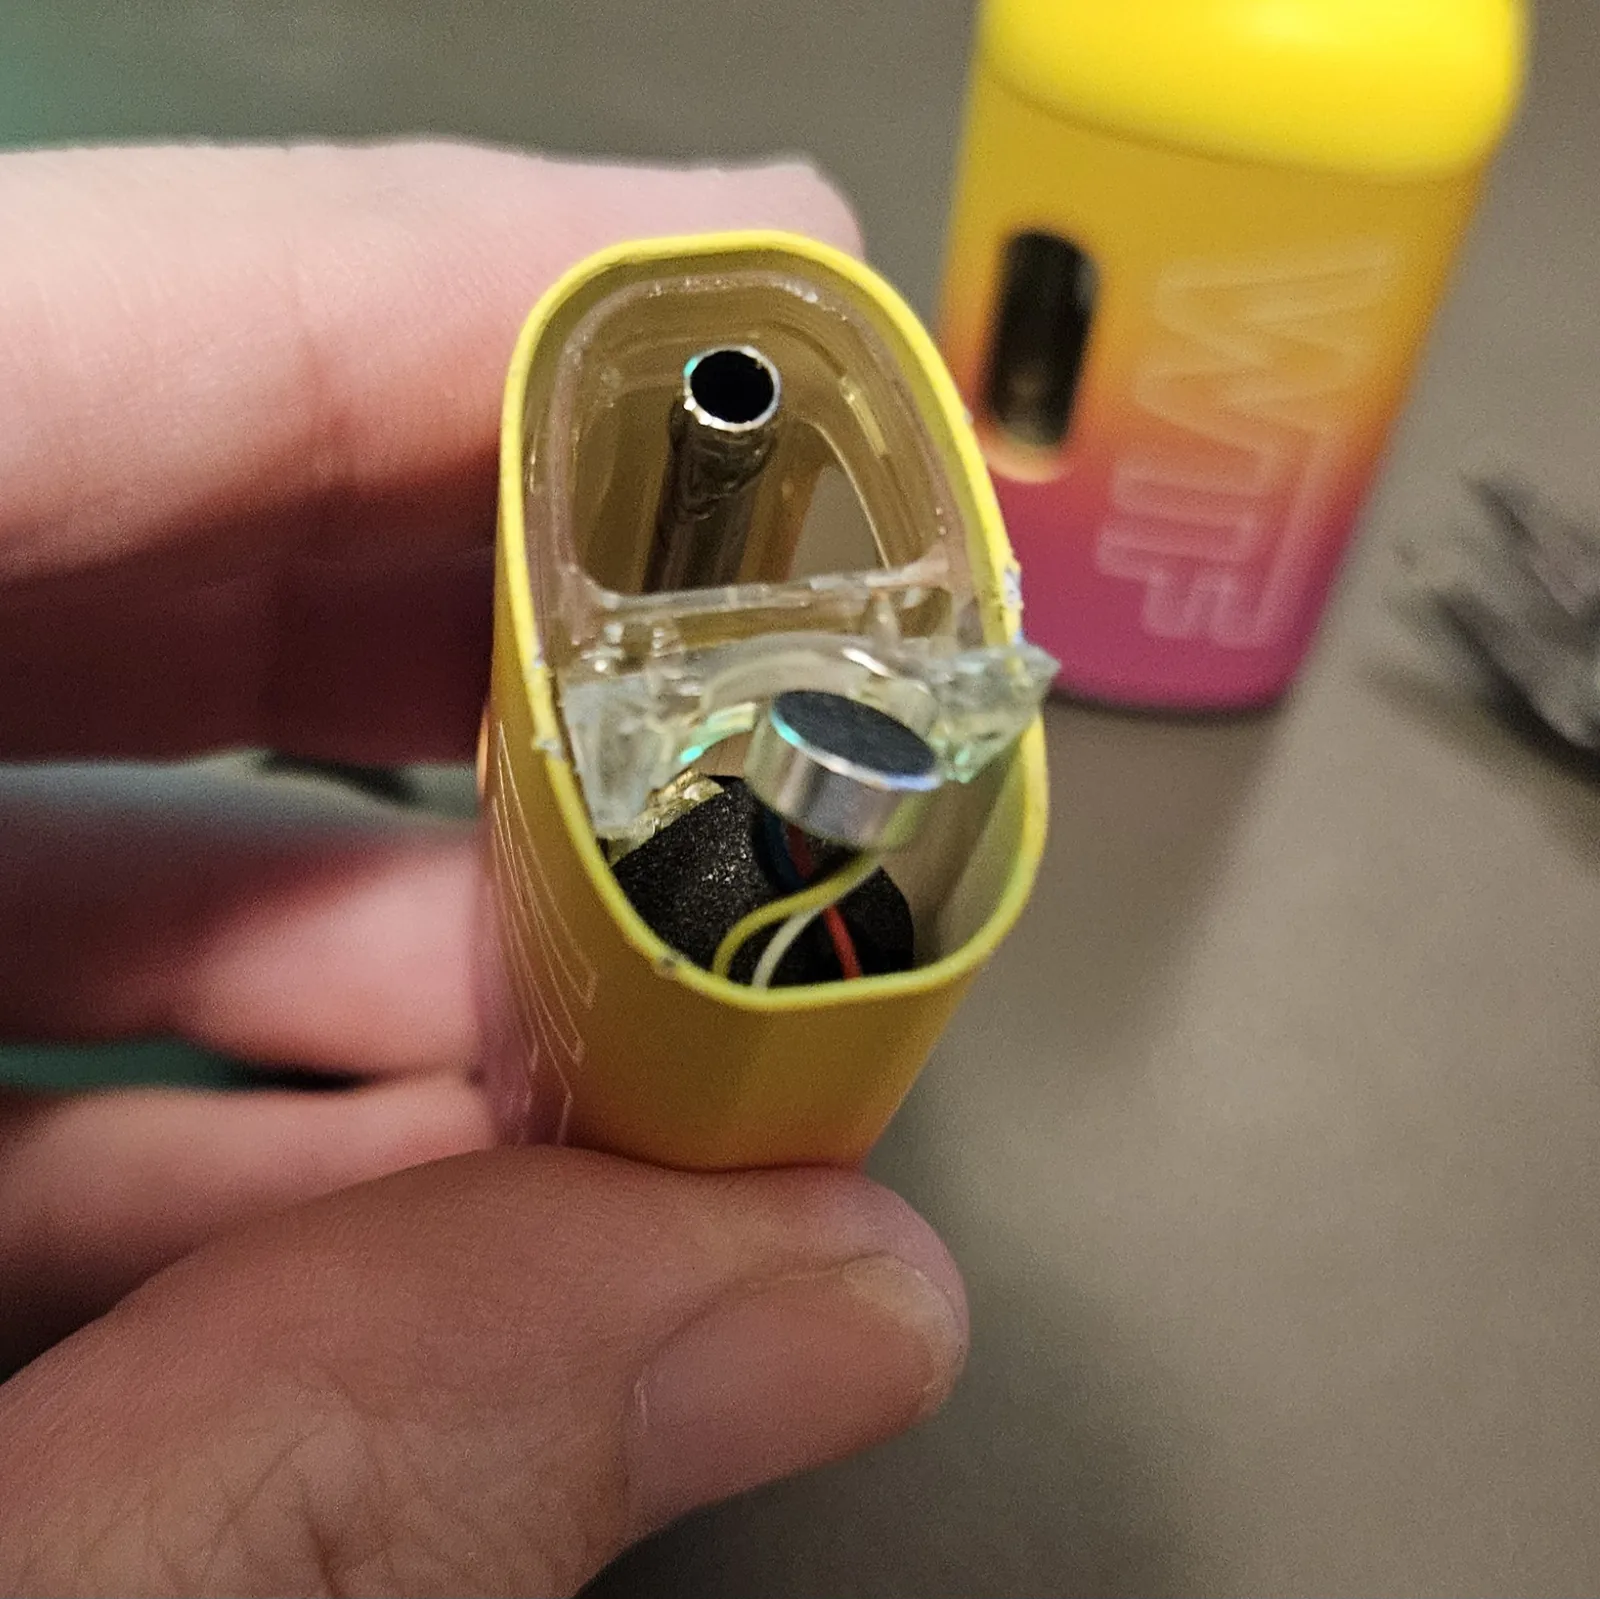
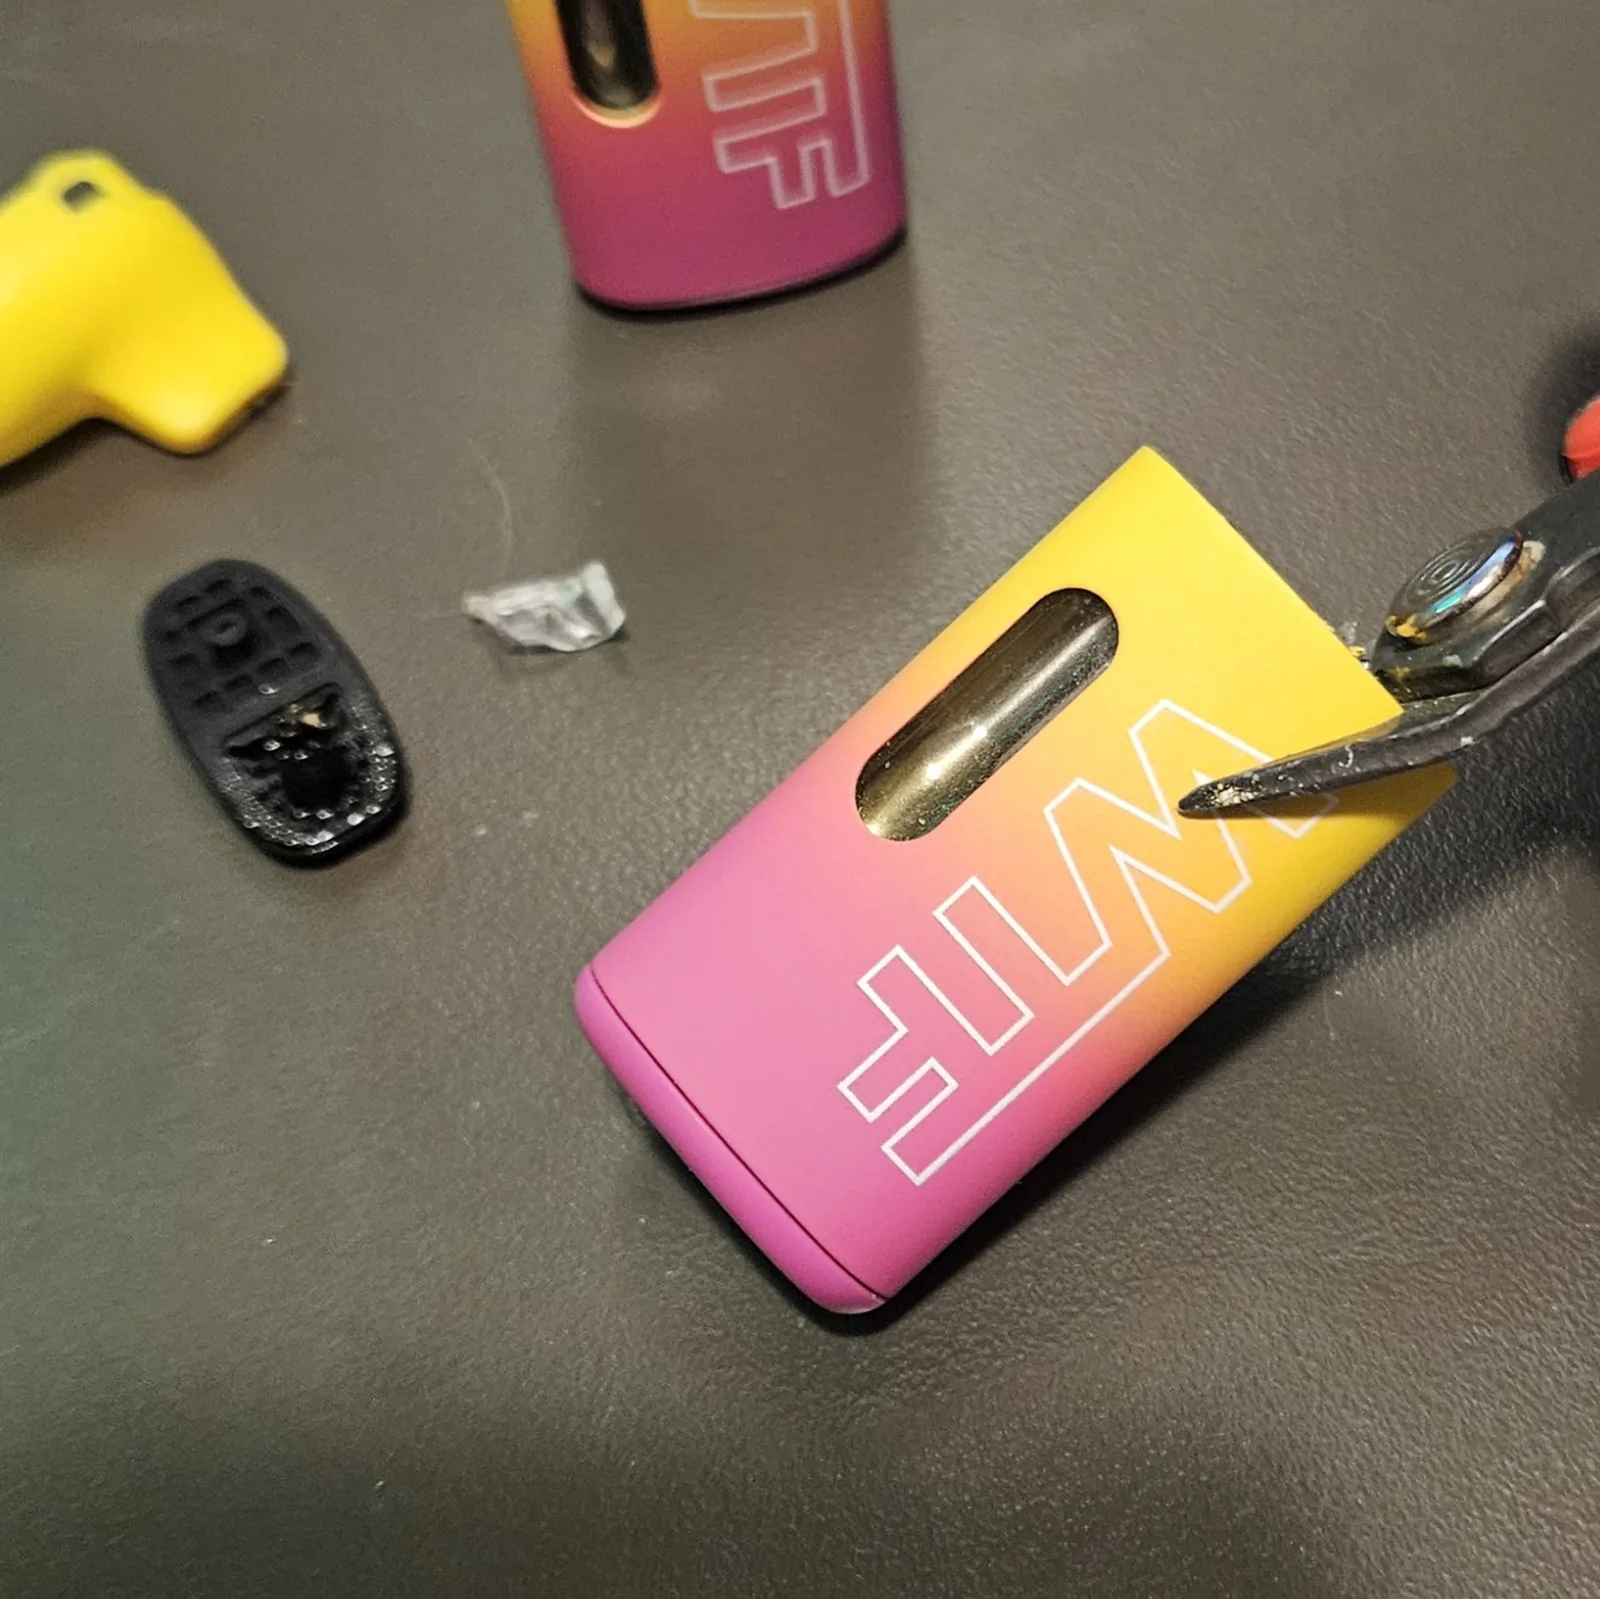
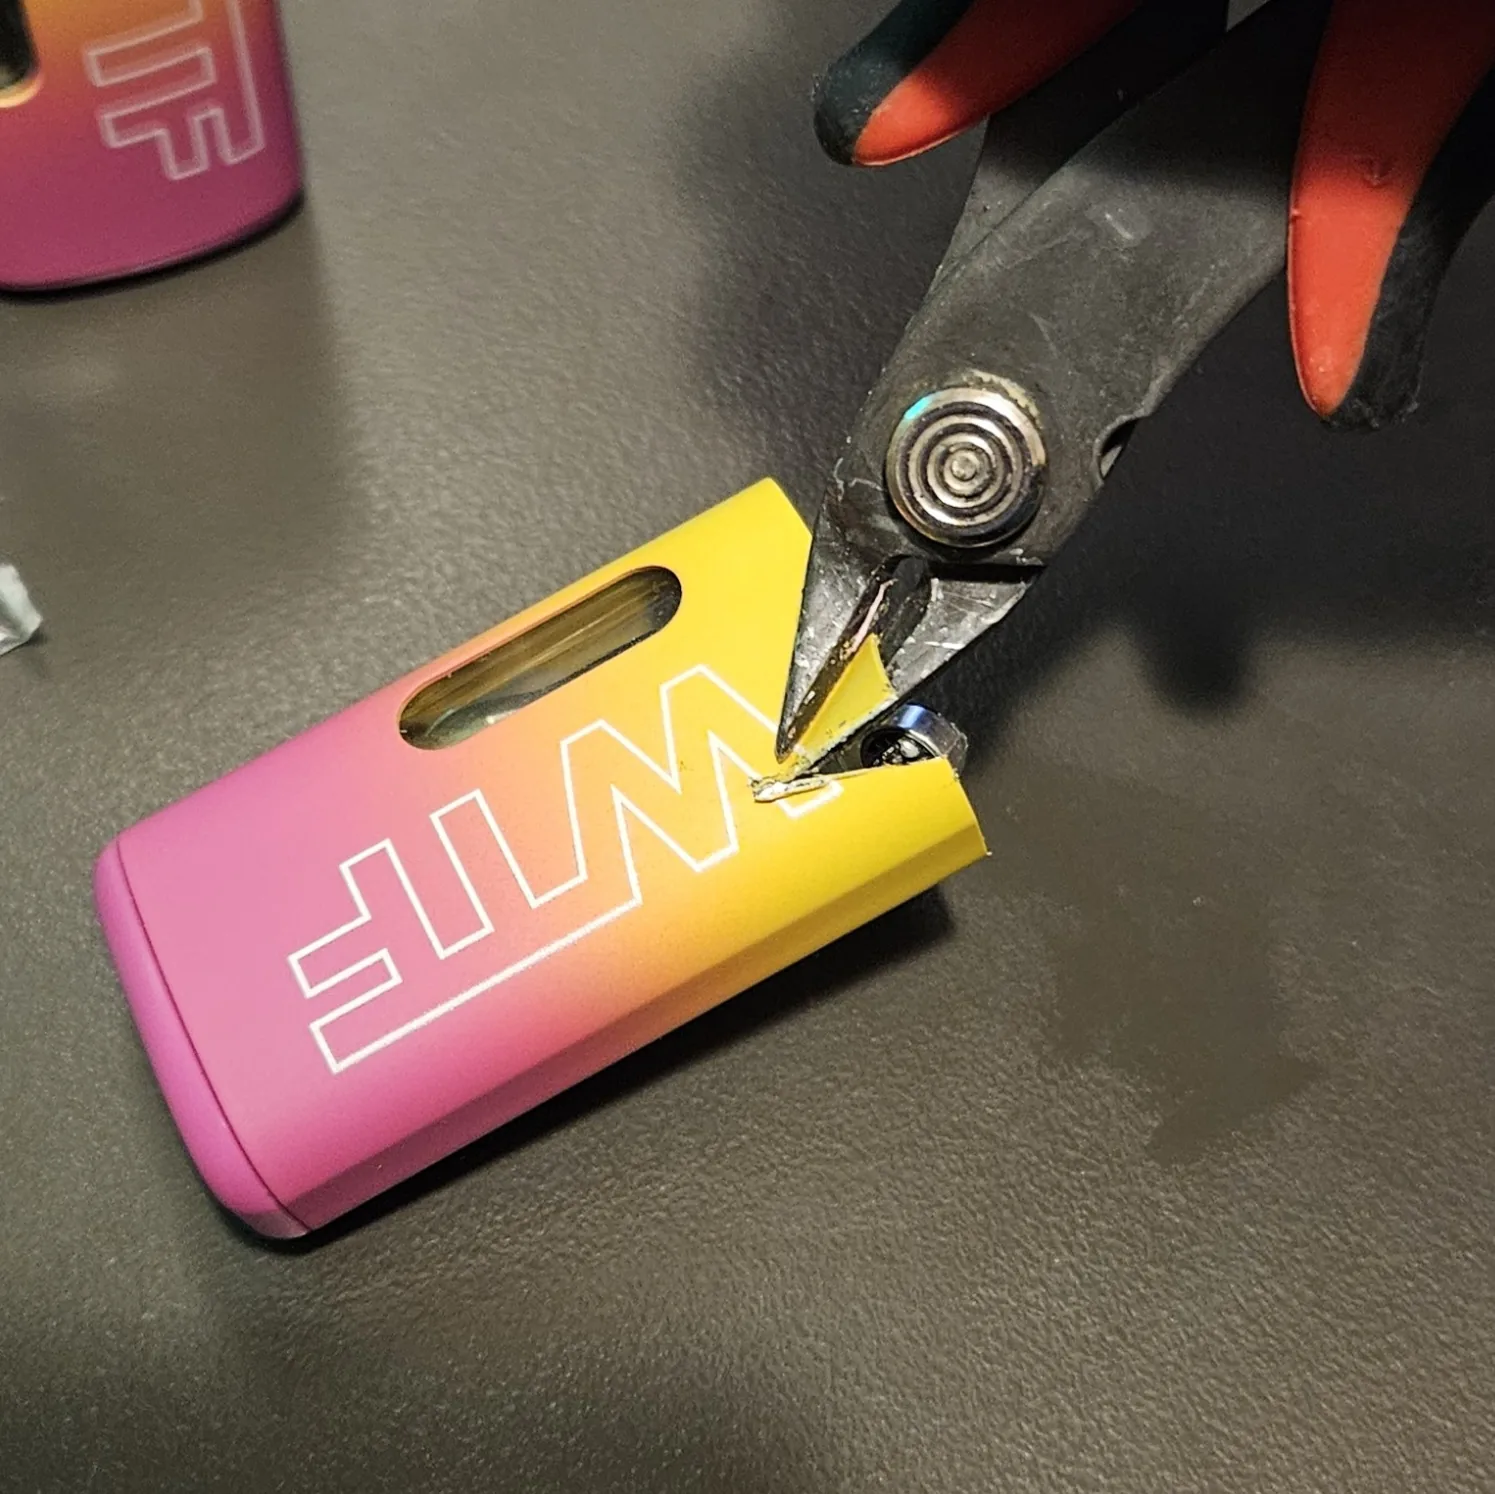
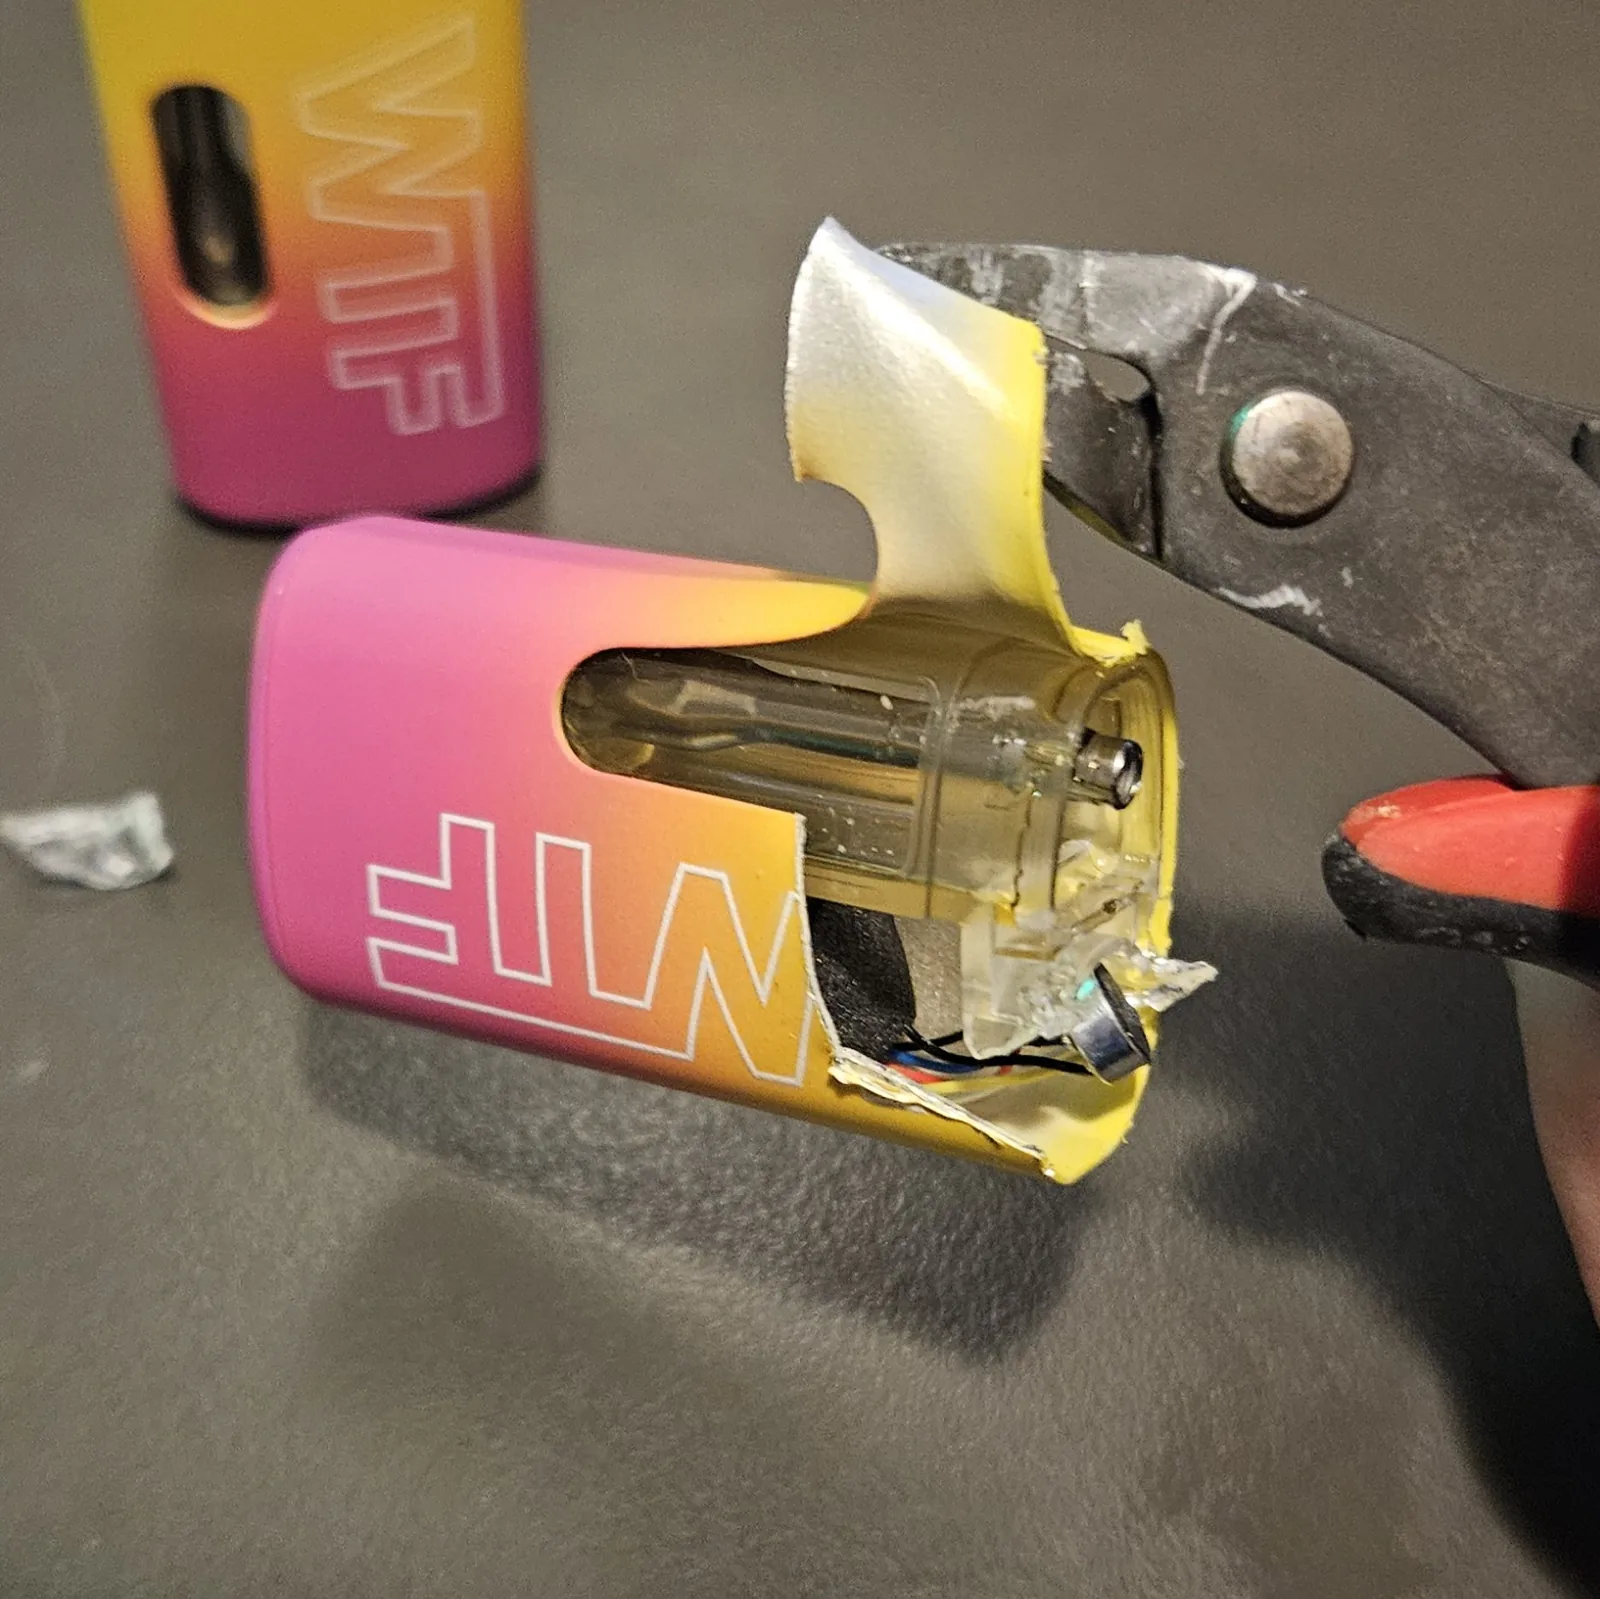
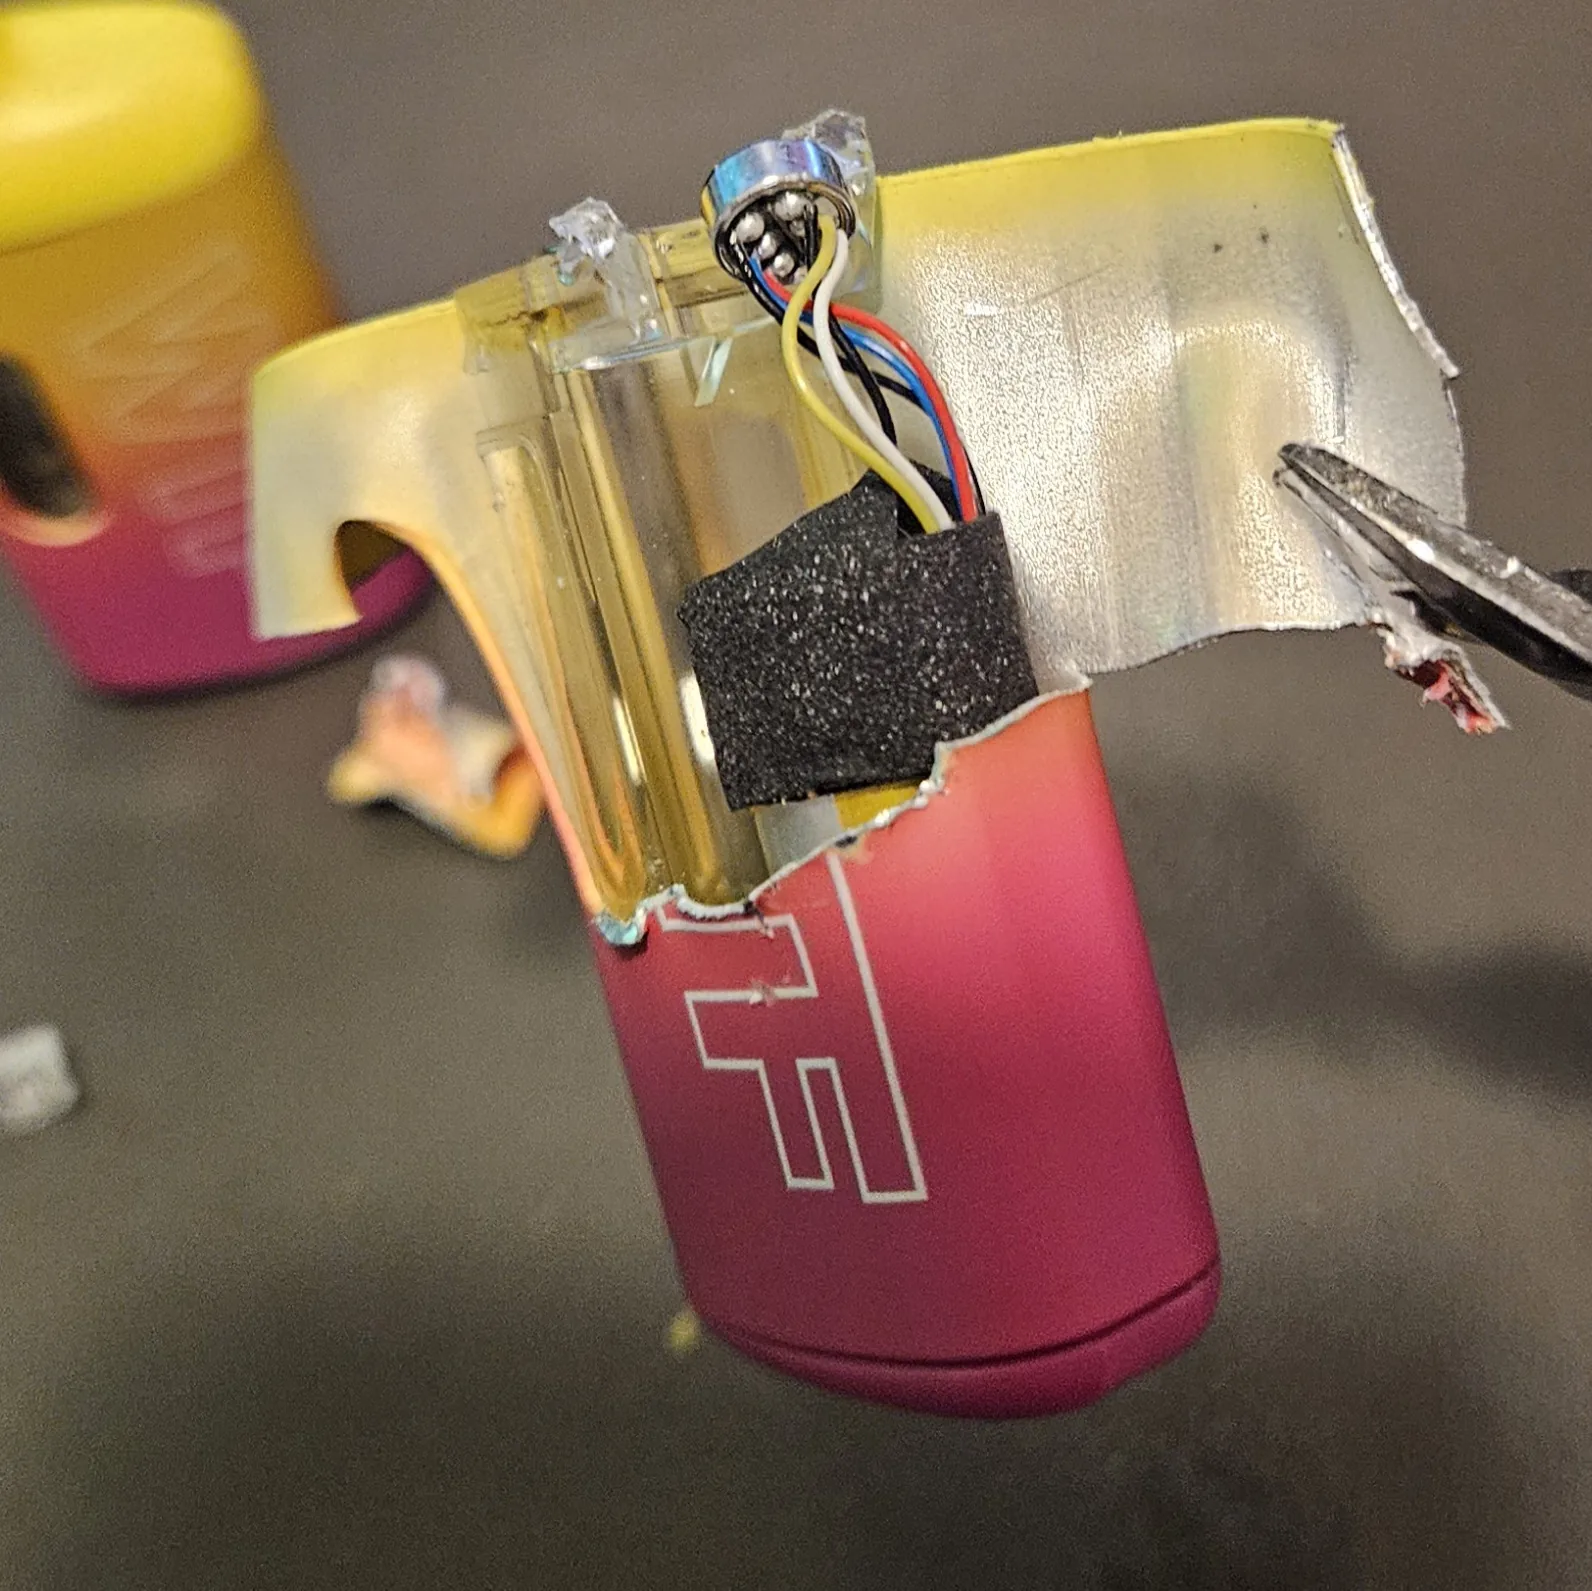
Time to crack 'er open. Work a pry tool or a small screwdriver into the seam and pop the housing apart — slow and steady. This is the stabby part: keep whatever you're prying with pointed away from the cell (and away from you), because the last thing you want is to puncture the battery or your thumb. Pop the end cap off and the guts will start to come loose.
Step 3 Free the cell & remove the old leads
Now free the girl from her shell. Snip the vape's original wires off the cell's terminals — cut them one at a time so you never bridge the two and short her out — then peel off whatever wrap or tape is holding her in. Go gentle; you're pulling tape, not fighting her. Keep an eye out for the little protection board on the cell, you can usually leave it attached.
Step 4 Tin and pre-solder
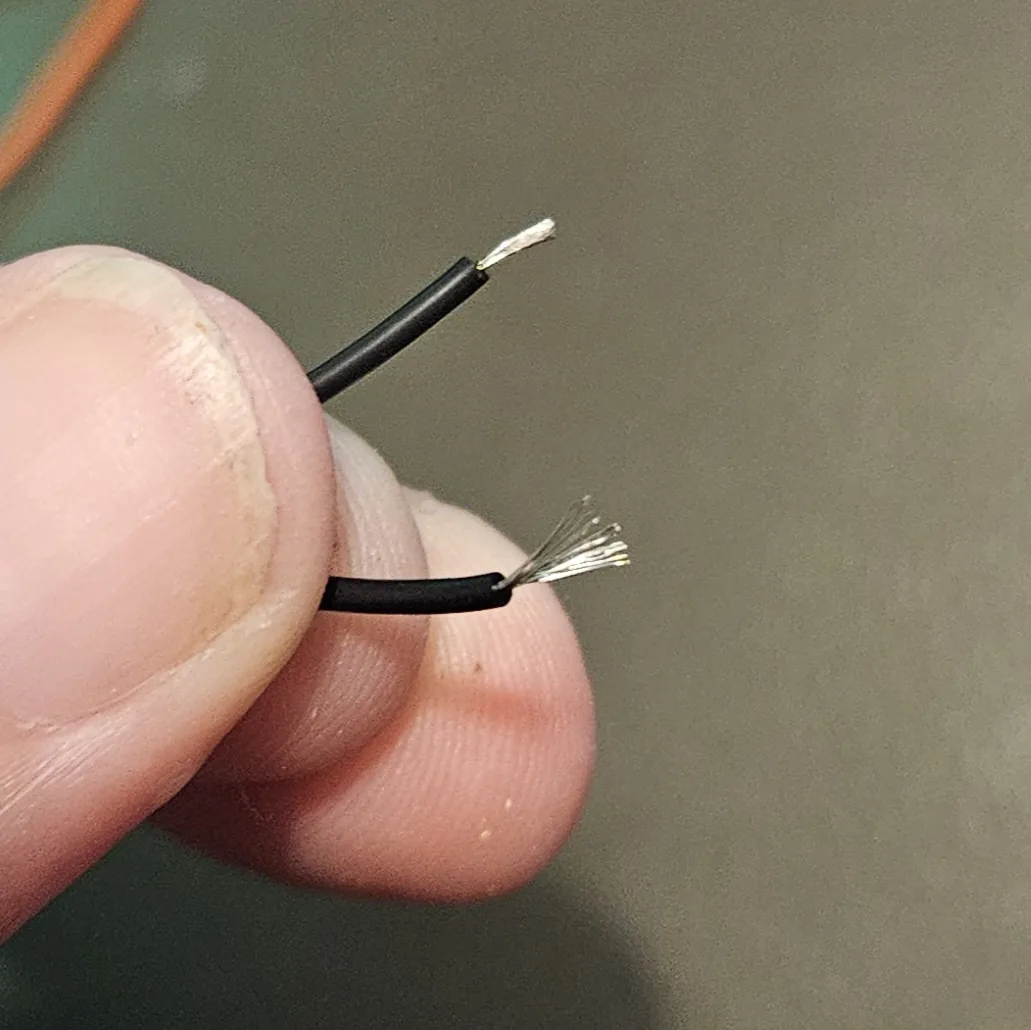
Always tin your tips. Don't be a no-tip-tinner. You will regret it if you do not tin your tips. You will wake up tomorrow wishing you were a responsible solderer that had tinned your tips, but instead you will have hurt fingies and burnt cells.
Step 5 Wire the two cells in parallel
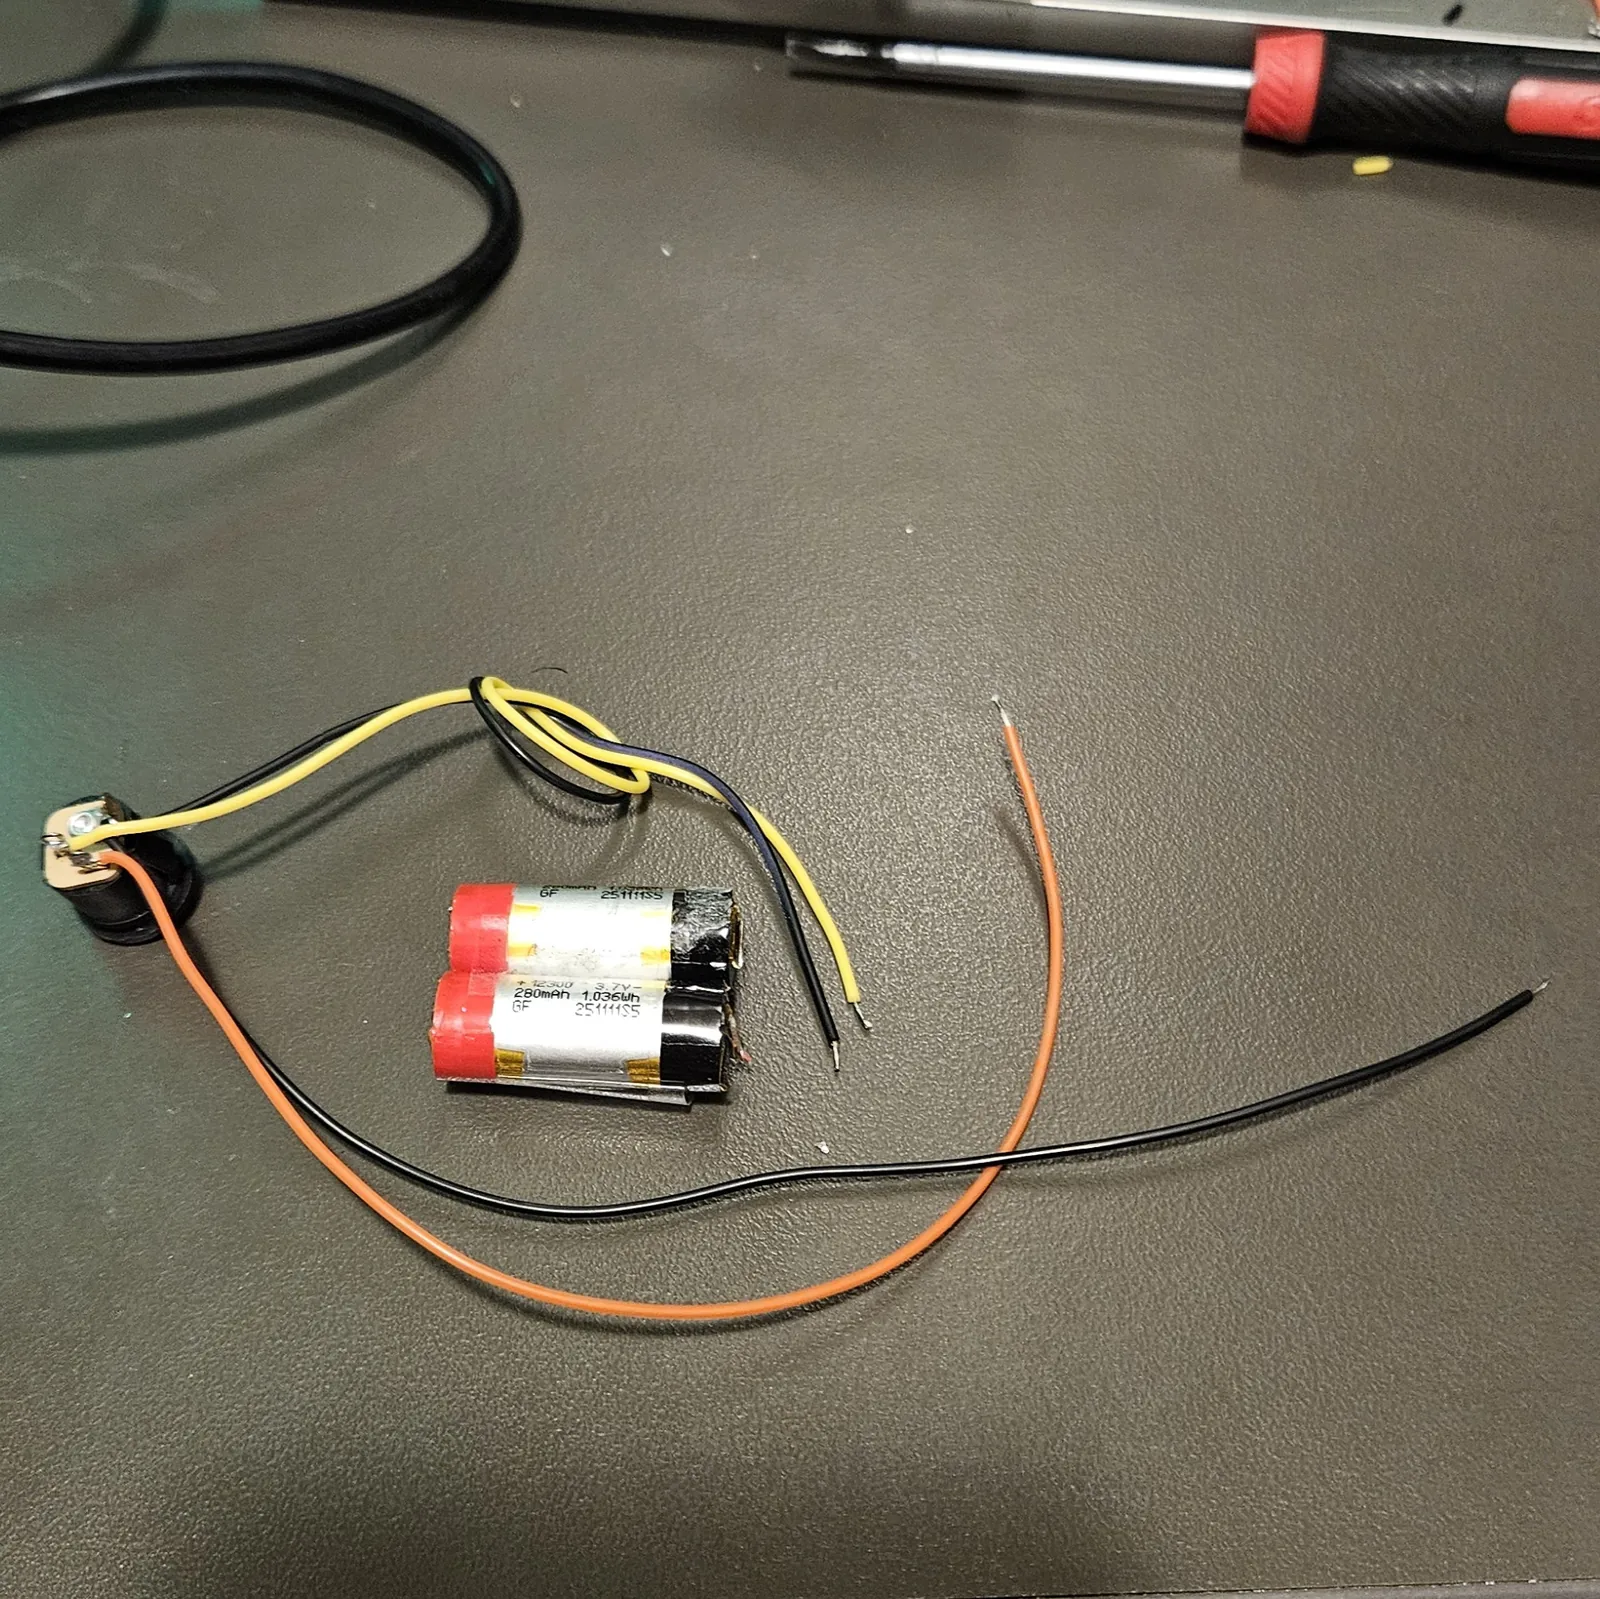
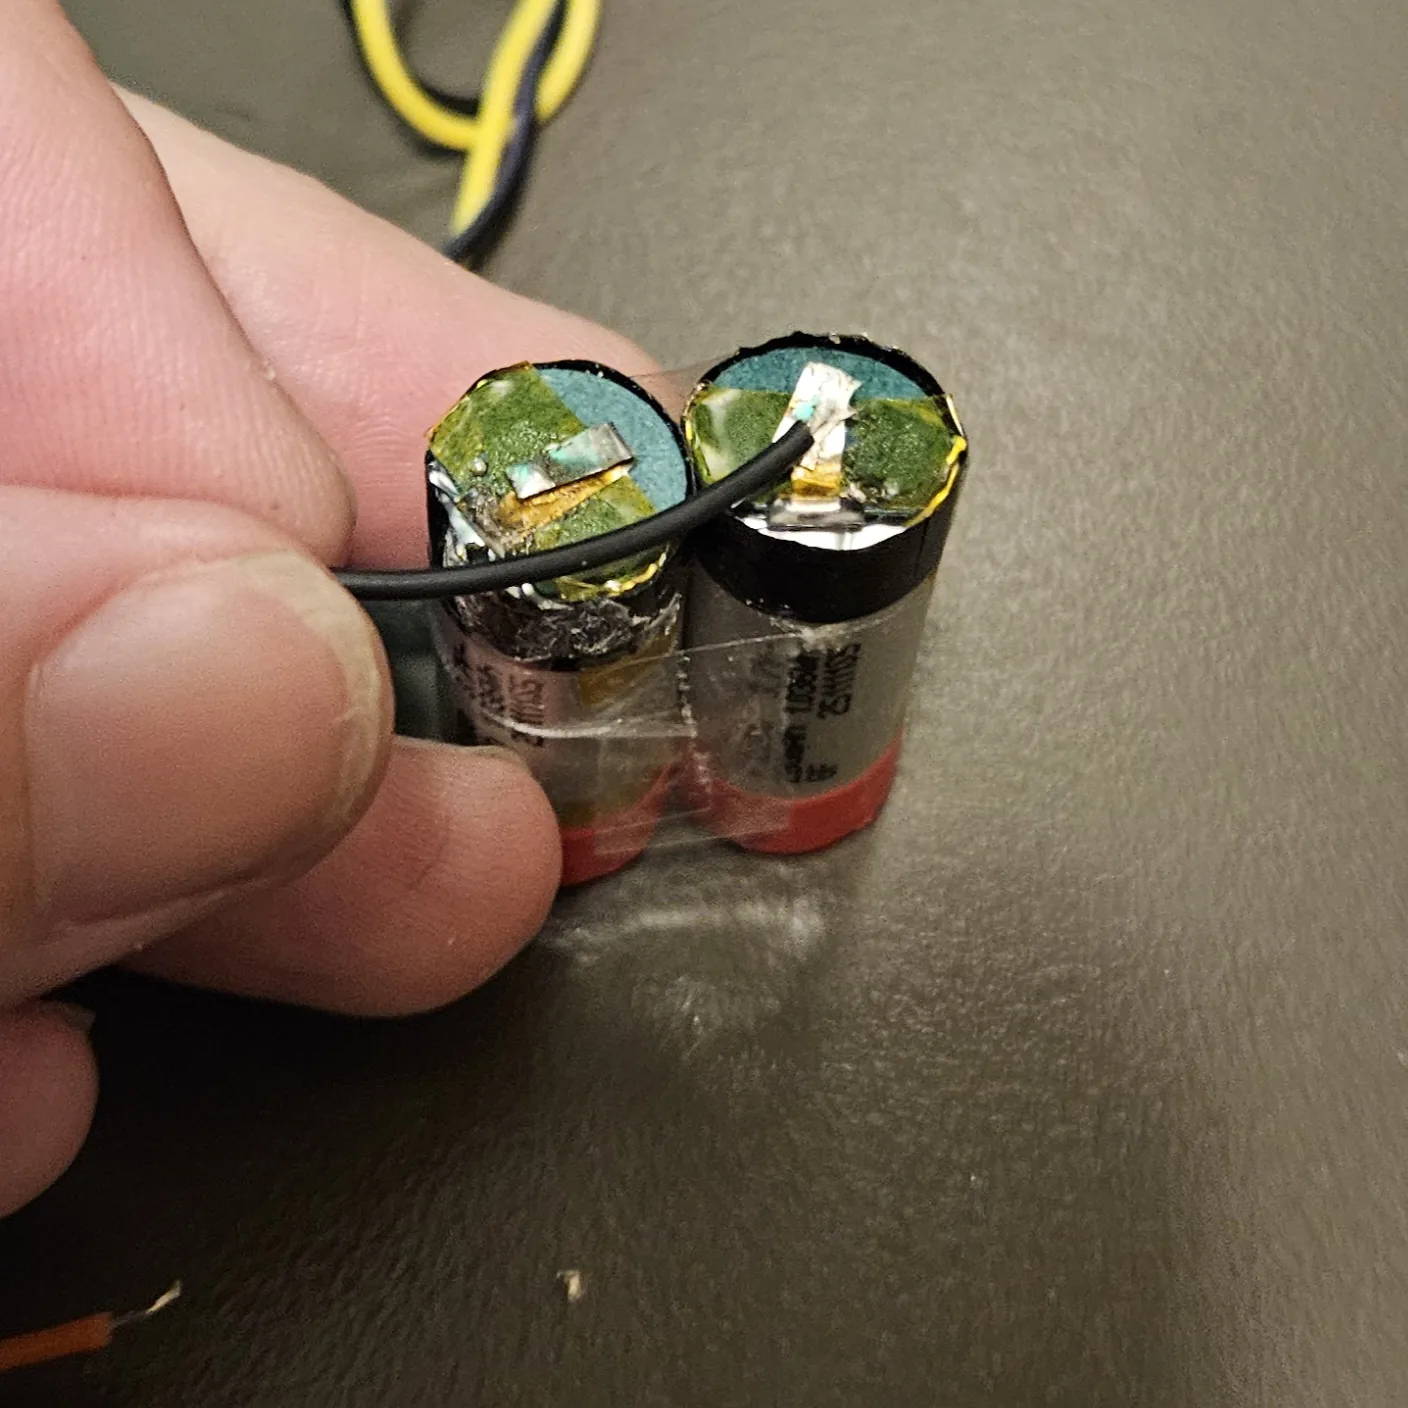
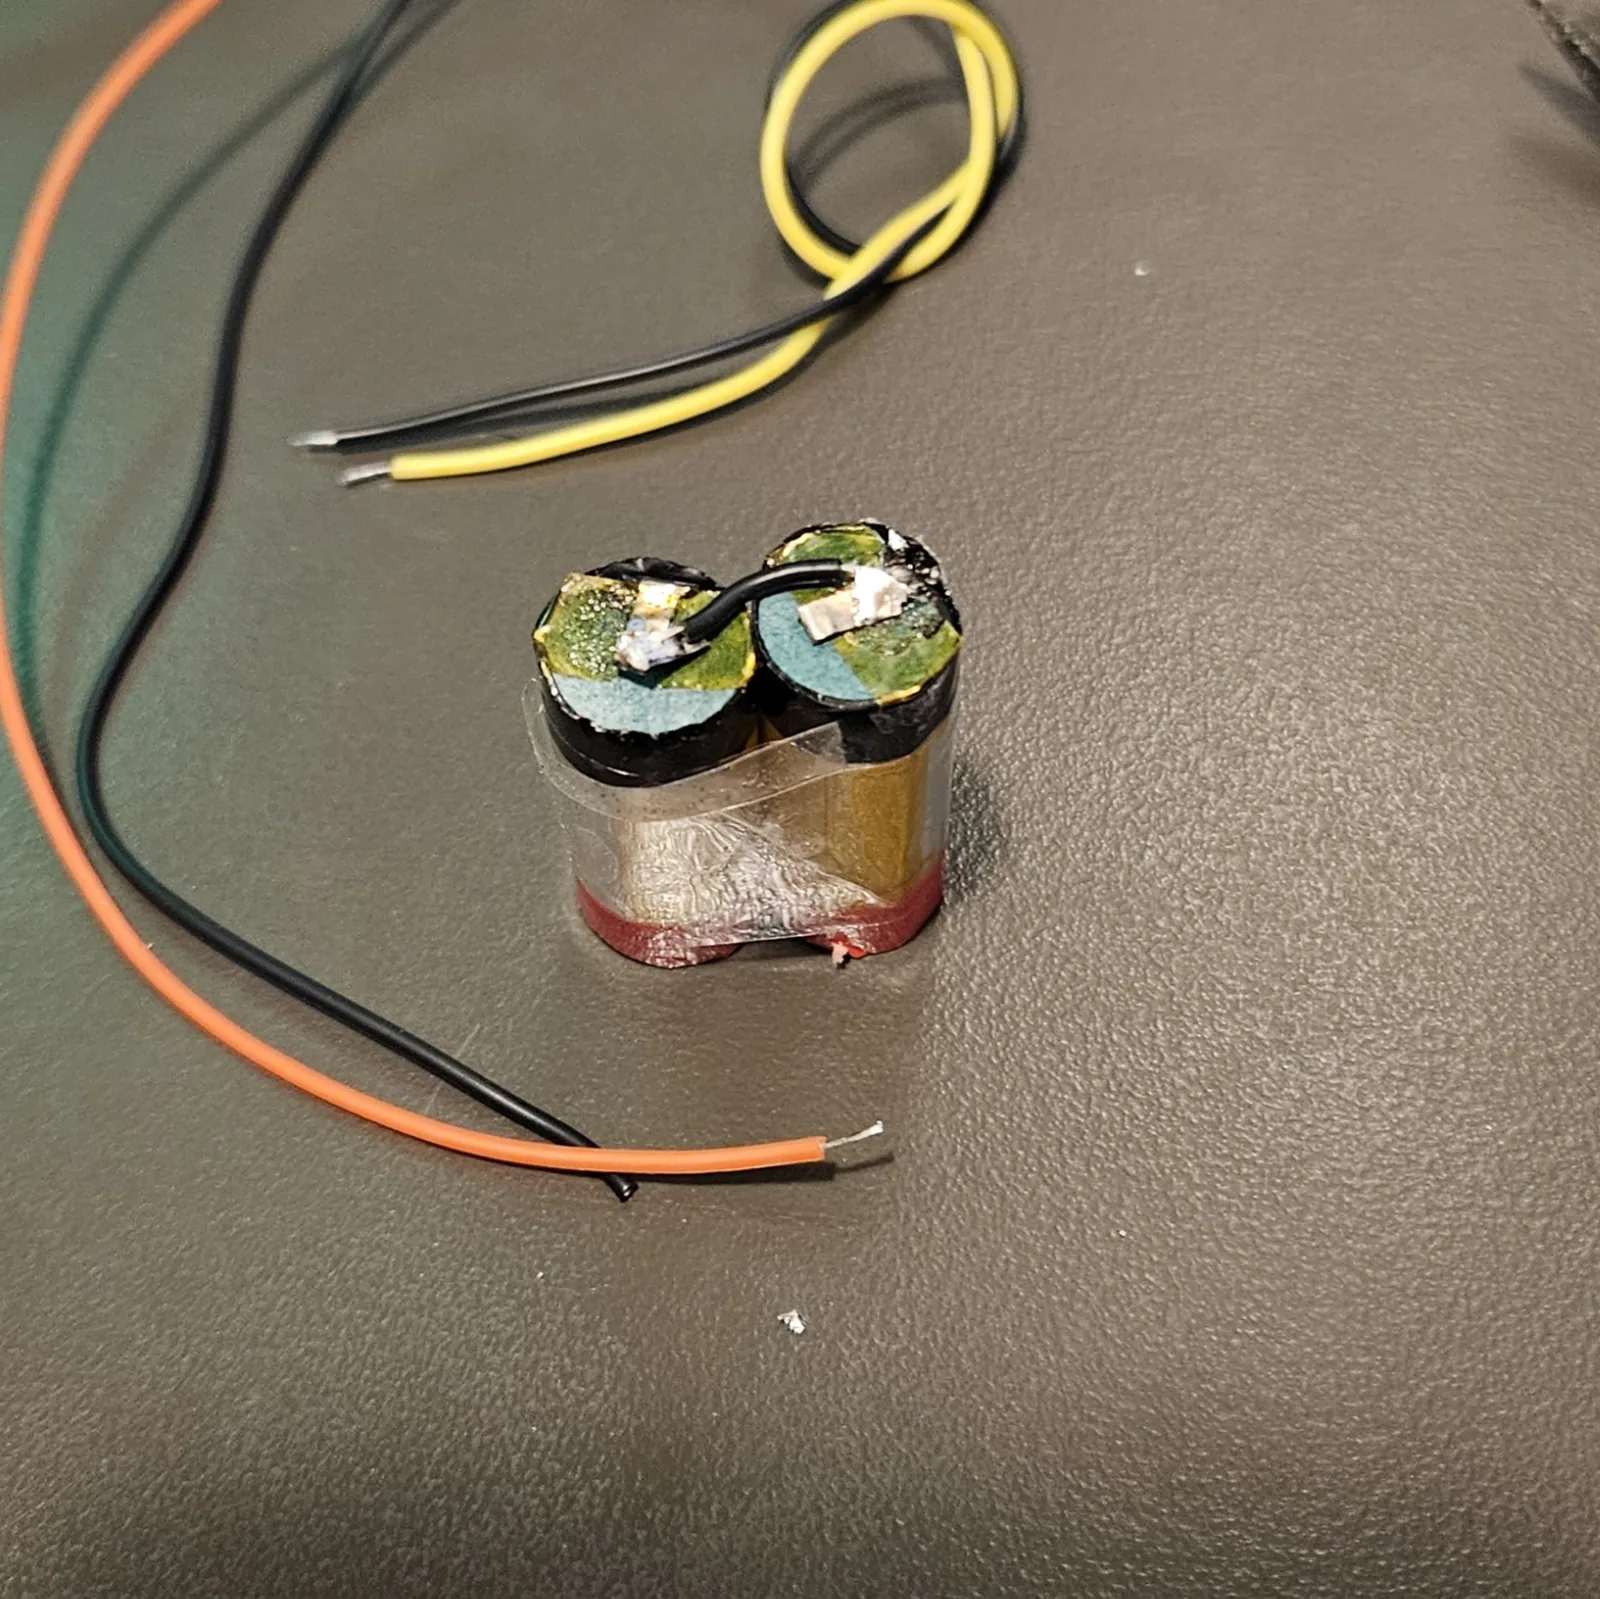
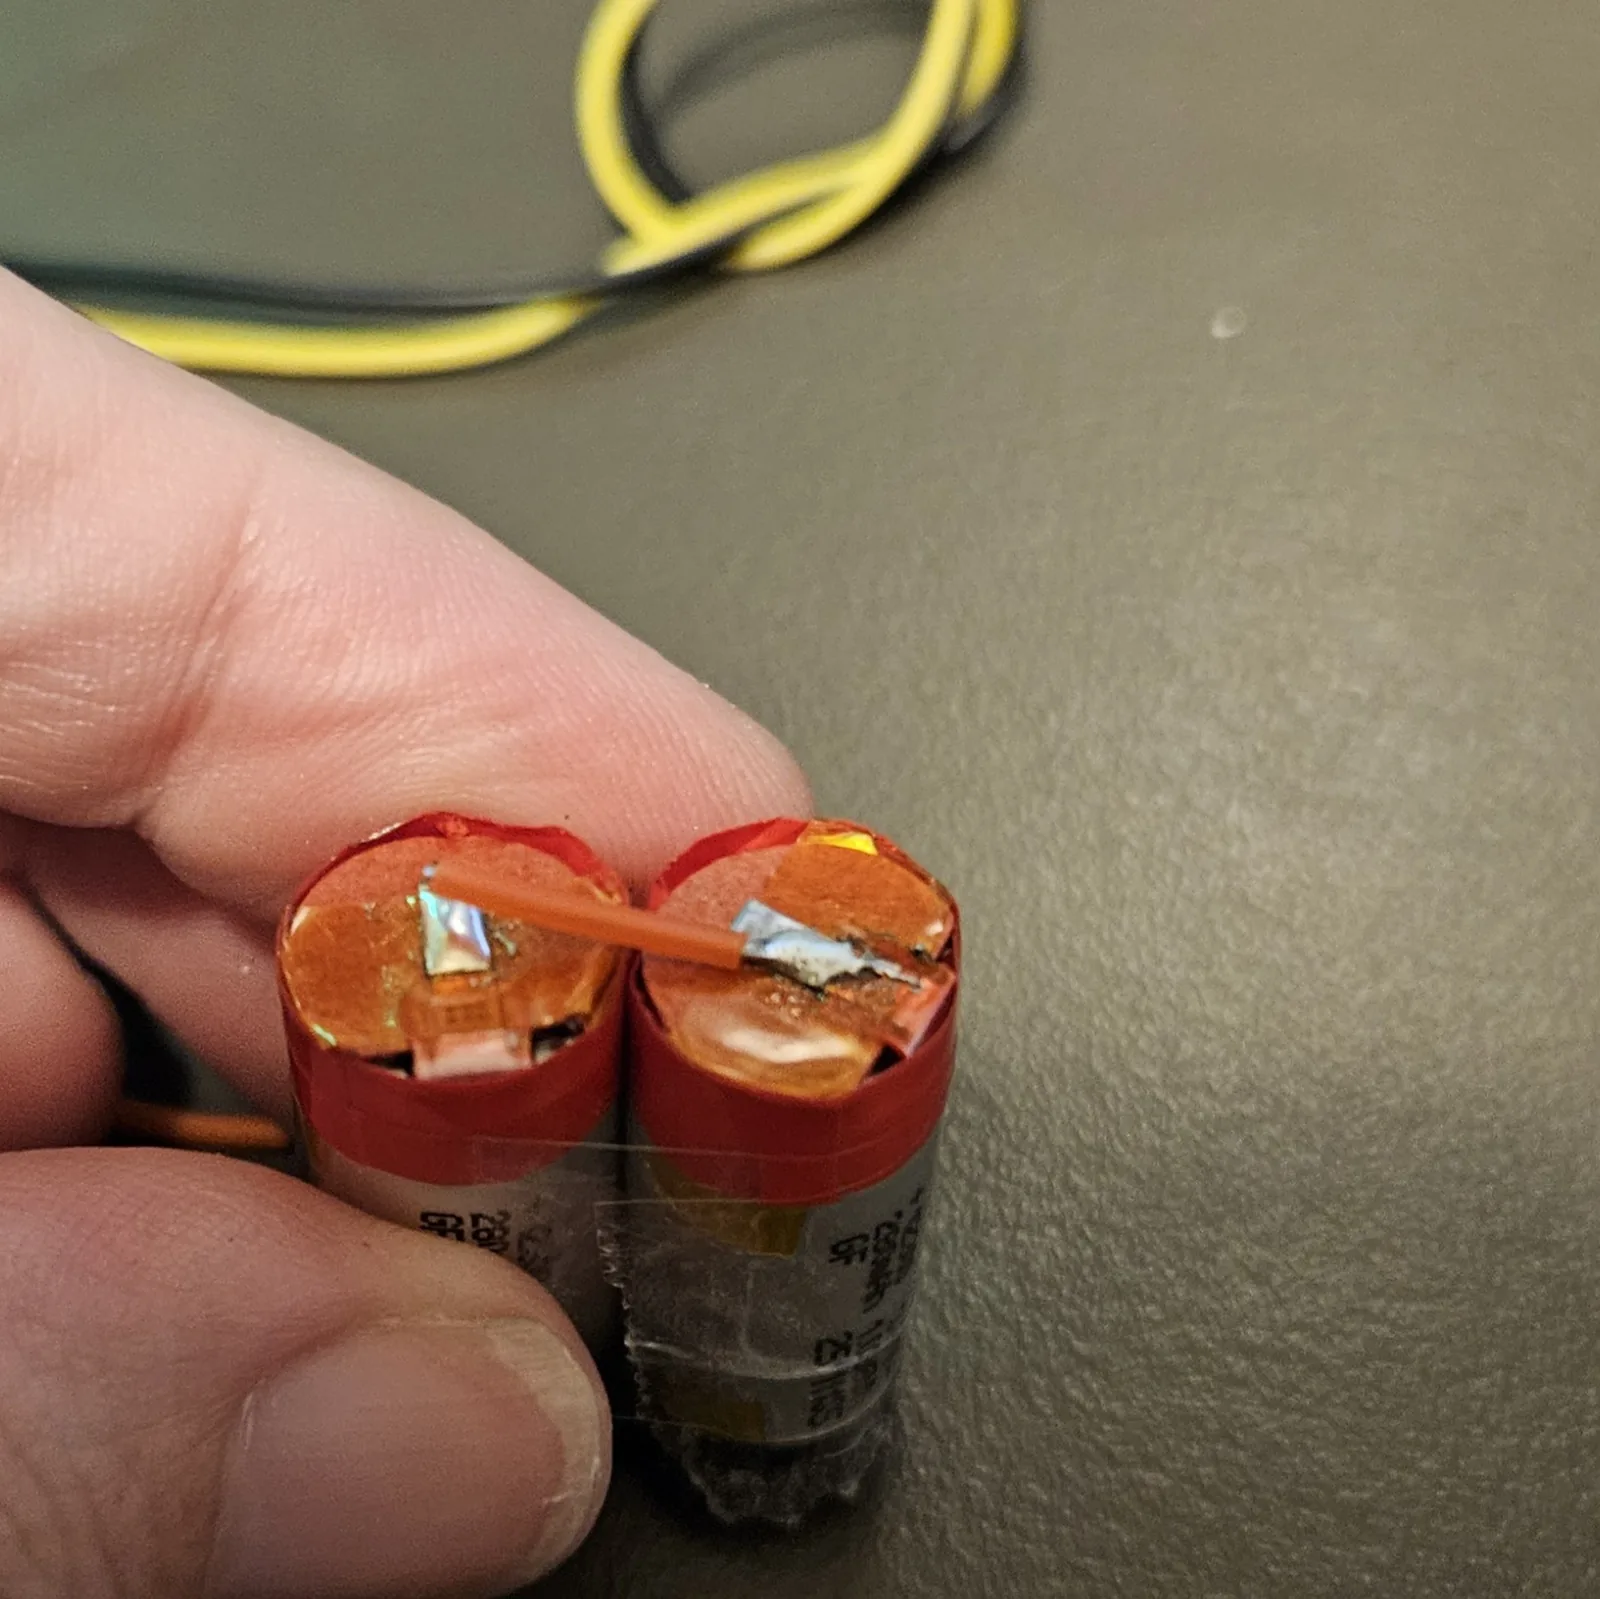
Here's the heart of it. We're wiring the two cells in parallel — positive to positive, negative to negative. Parallel keeps the voltage the same as a single cell (~3.7V) but doubles the runtime, which is exactly what we're after. Do the ground (negative) side first, then the VCC (positive) side.
Want the why behind this — or need more volts instead of more hours? I broke down series vs. parallel, with diagrams, in More Volts or More Hours? It also covers running two voltages (say 9V and 6V) off one pack, and using a multimeter to work out which wire is which.
One big caution: only ever parallel two cells that are at the same charge. If one's full and one's flat, joining them dumps a huge current from one into the other the instant they touch — that's how you get a hot, angry, venting cell. Check both with your multimeter first and get them to roughly the same voltage before you join them. (And this is parallel, not series — series would double the voltage, which is a different build.)
Step 6 Add the DC jack
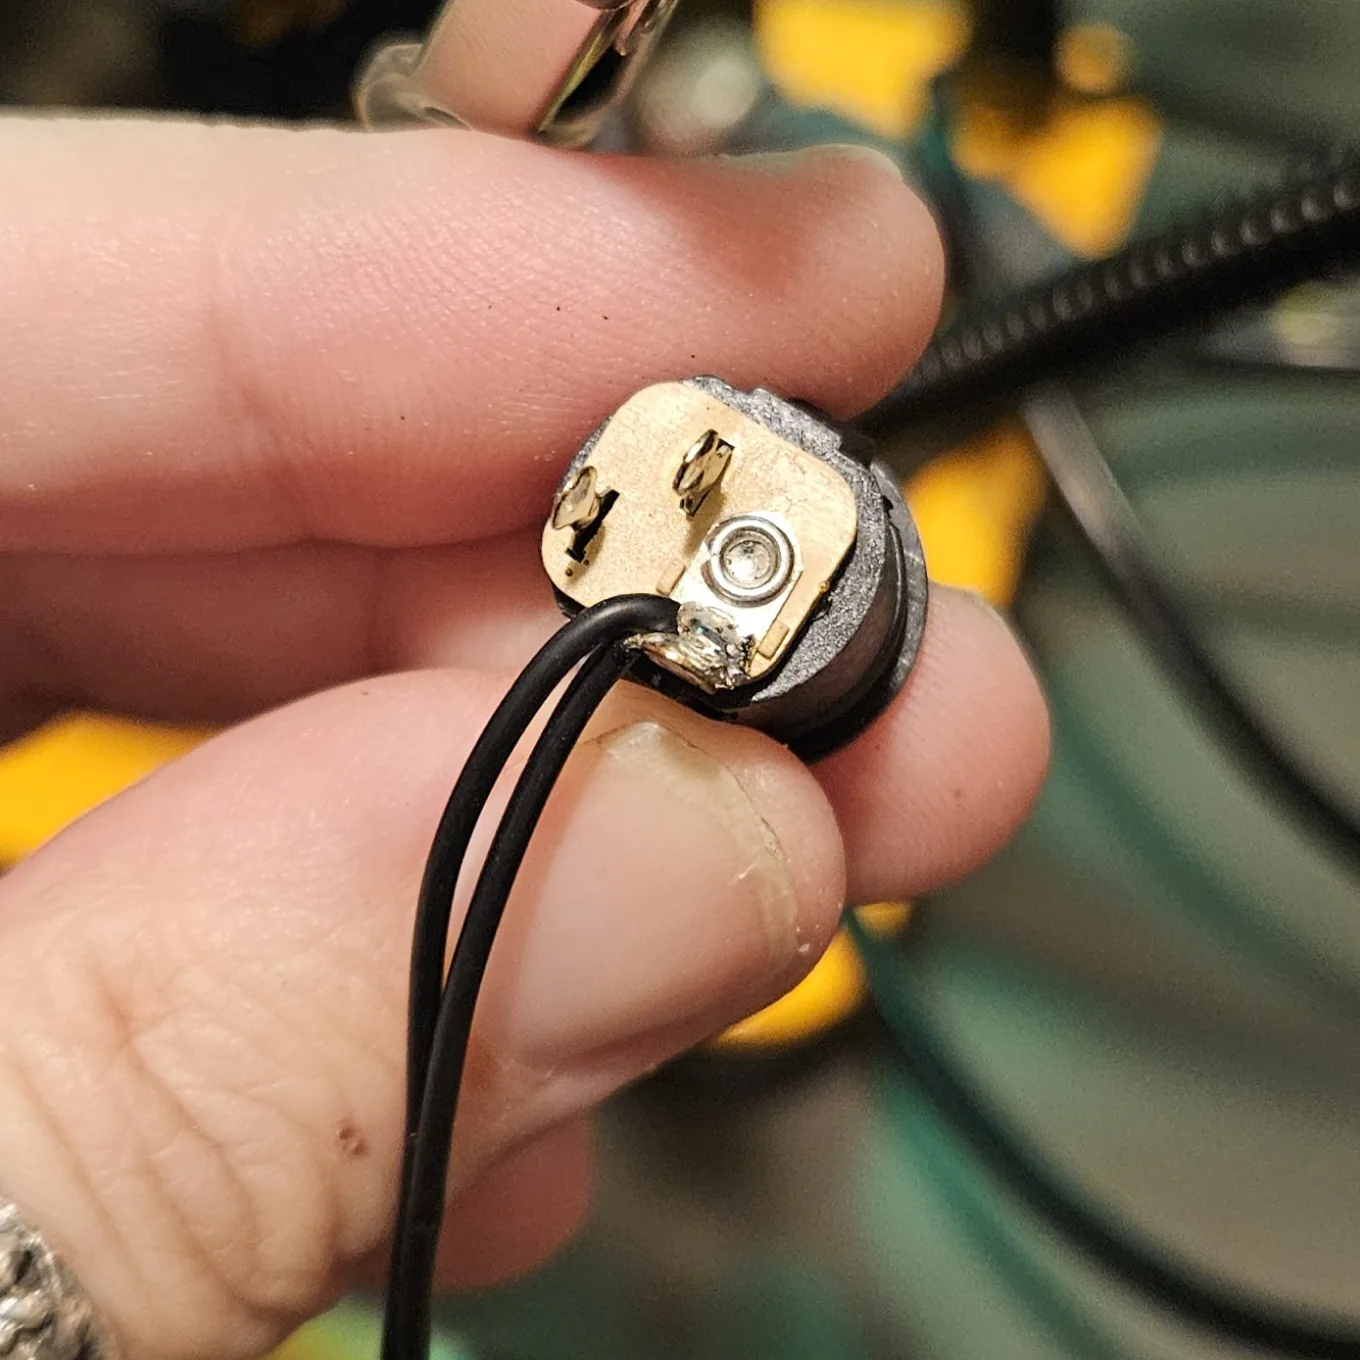
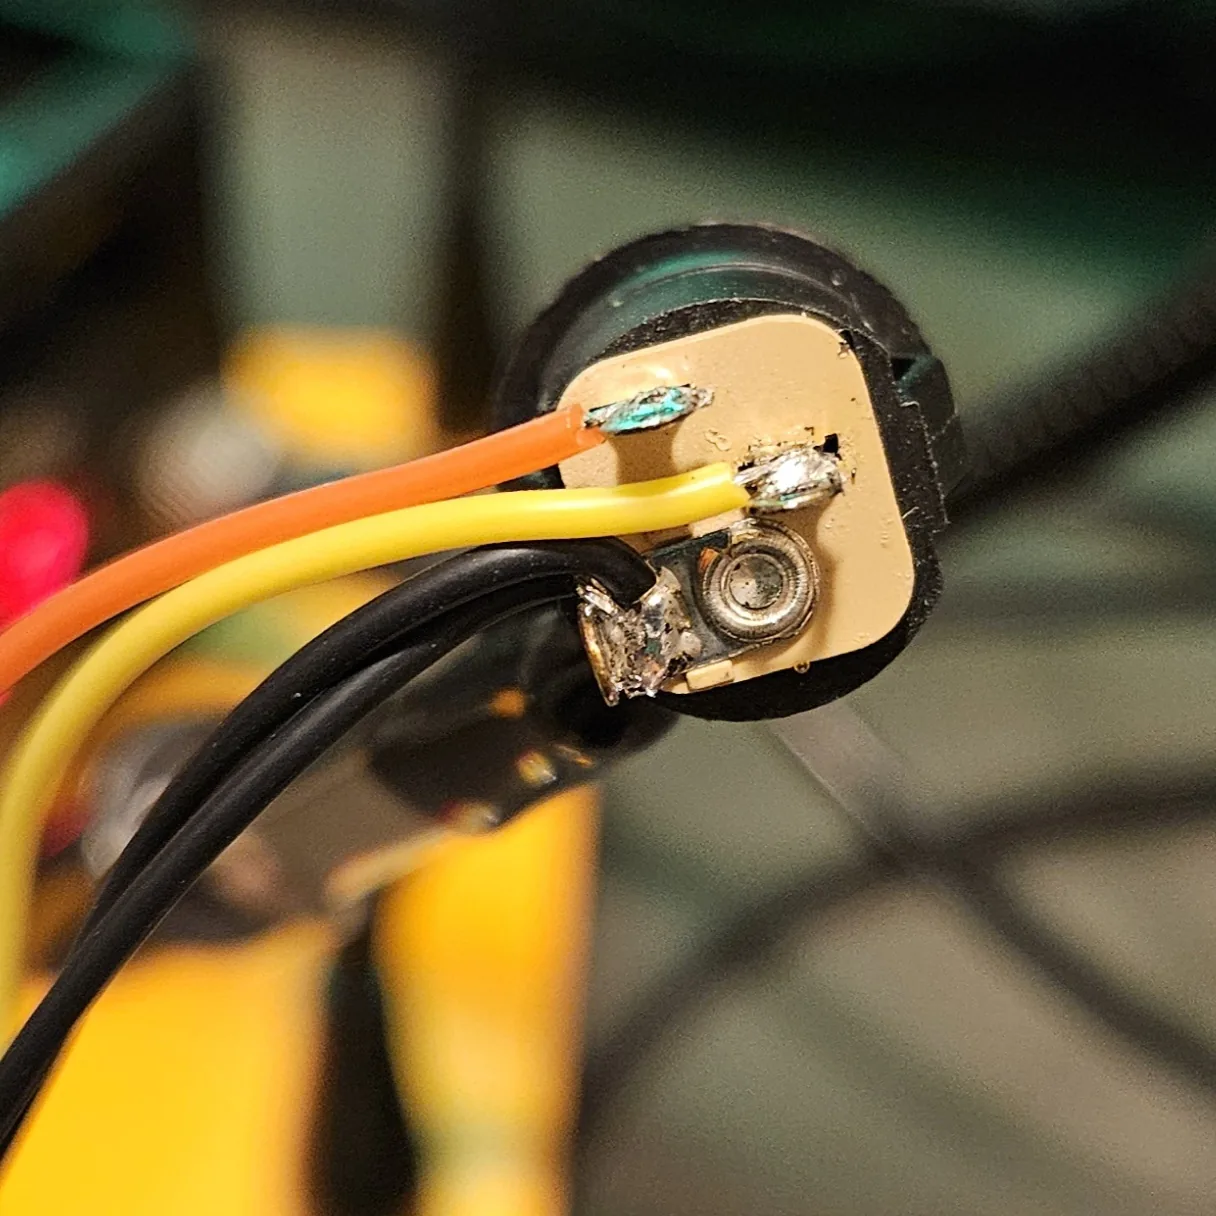
A switched DC jack is what makes this a rechargeable pack instead of just a battery on a string. The switch lug lets one connector do two jobs: with nothing plugged in, the cells feed your project; plug a charger in and it flips over to top the cells back up. Keep the three roles straight as you solder — ground, battery, and voltage out — and double-check them against your jack's pinout before you trust it, because every jack numbers its lugs a little differently.
Step 7 Done — and it works
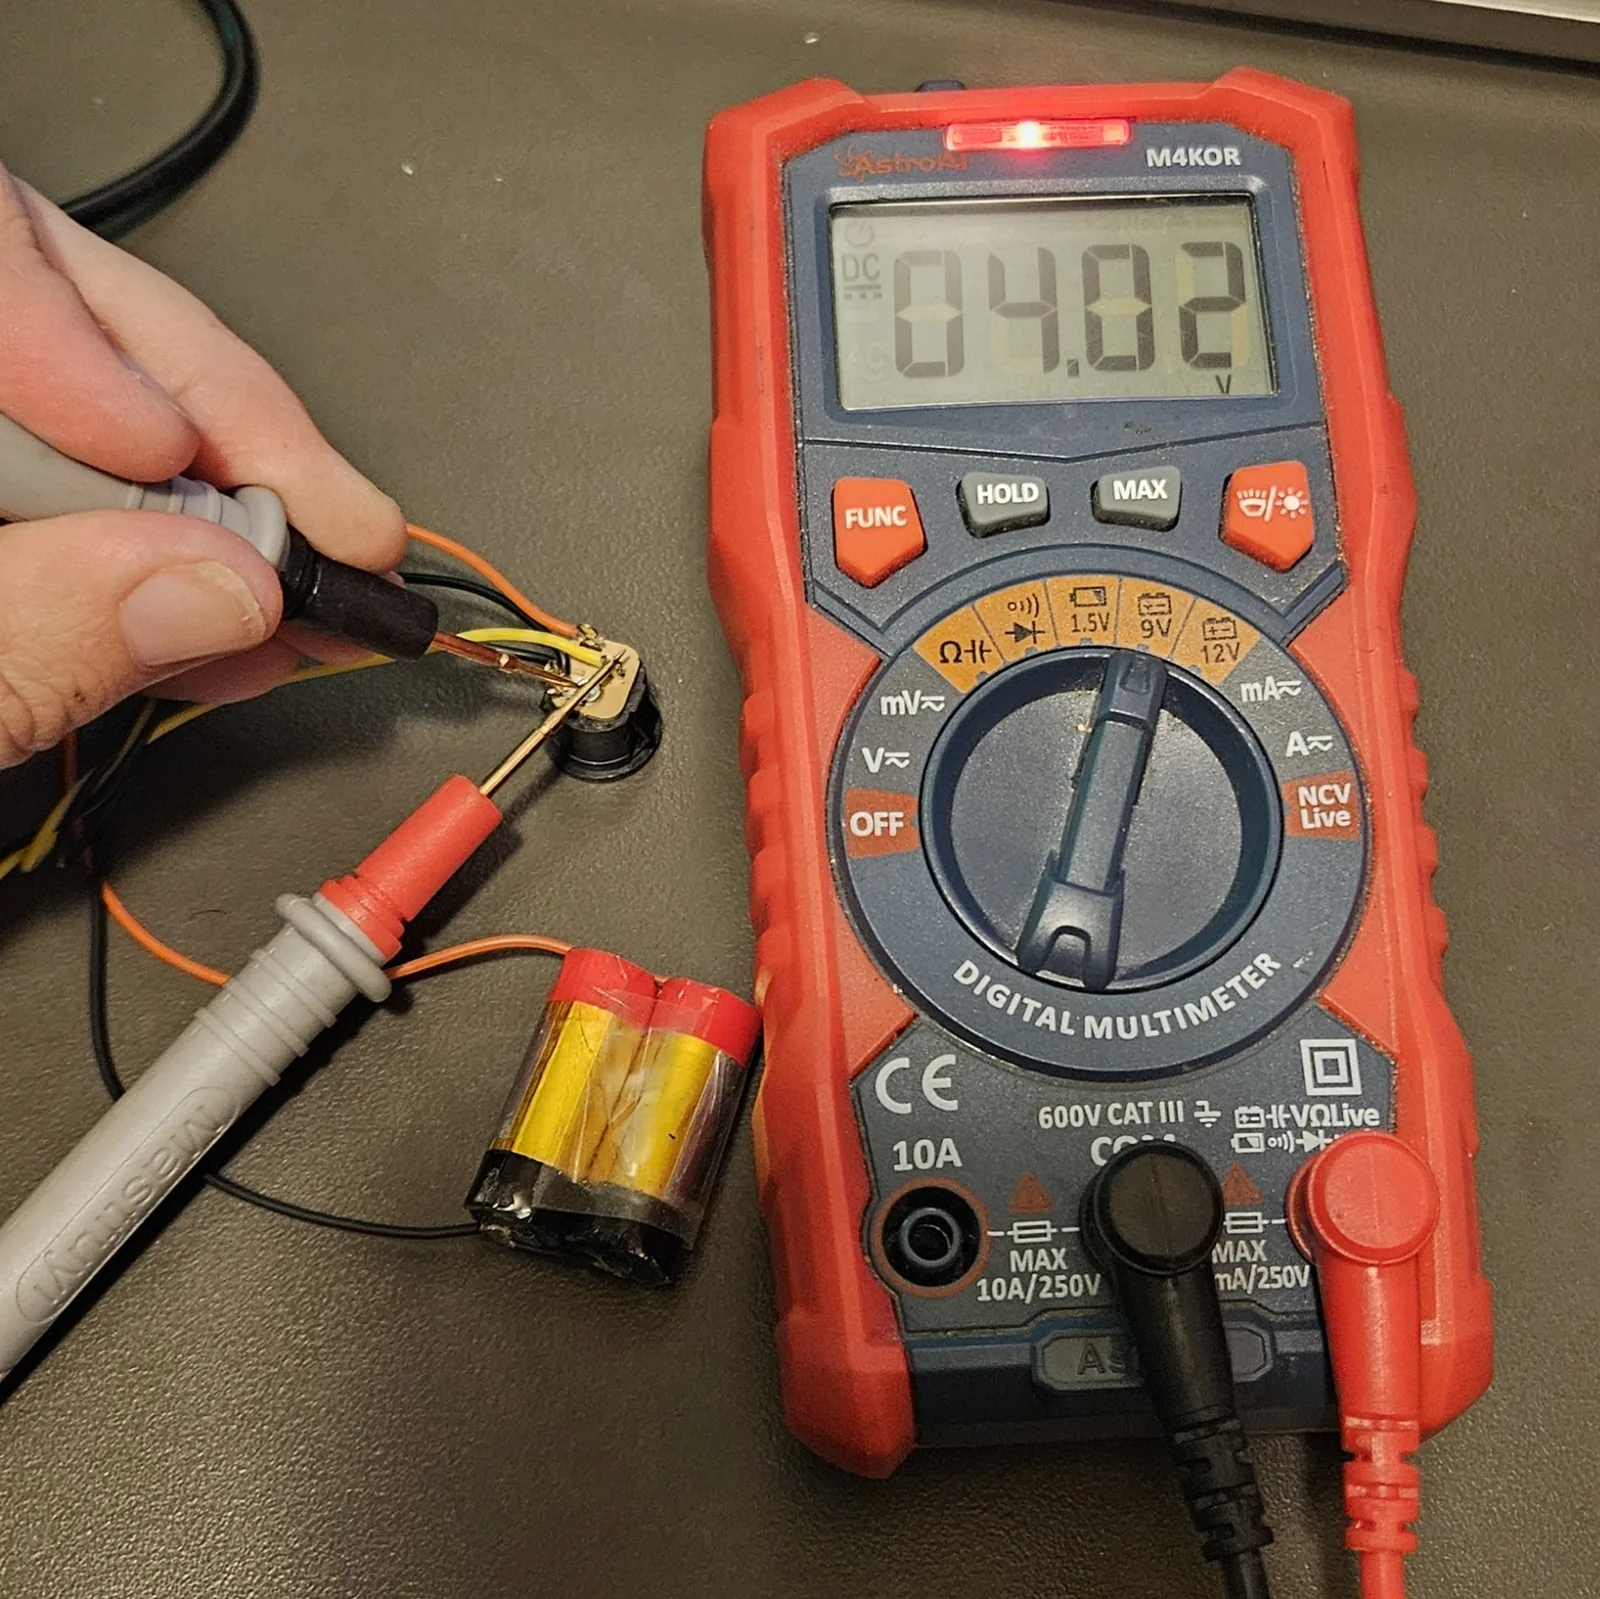
Last thing: tidy her up. Tape or wrap the cells so nothing metal can touch and short across the terminals, and tuck your wires in neat. Then grab the multimeter and check the voltage across the output — a healthy parallel pair should read somewhere around 3.7–4.2V. Mine came up at 4.02V, which means she's charged, wired right, and ready to power something. Plug a charger into the jack, confirm the voltage climbs, and you're done.
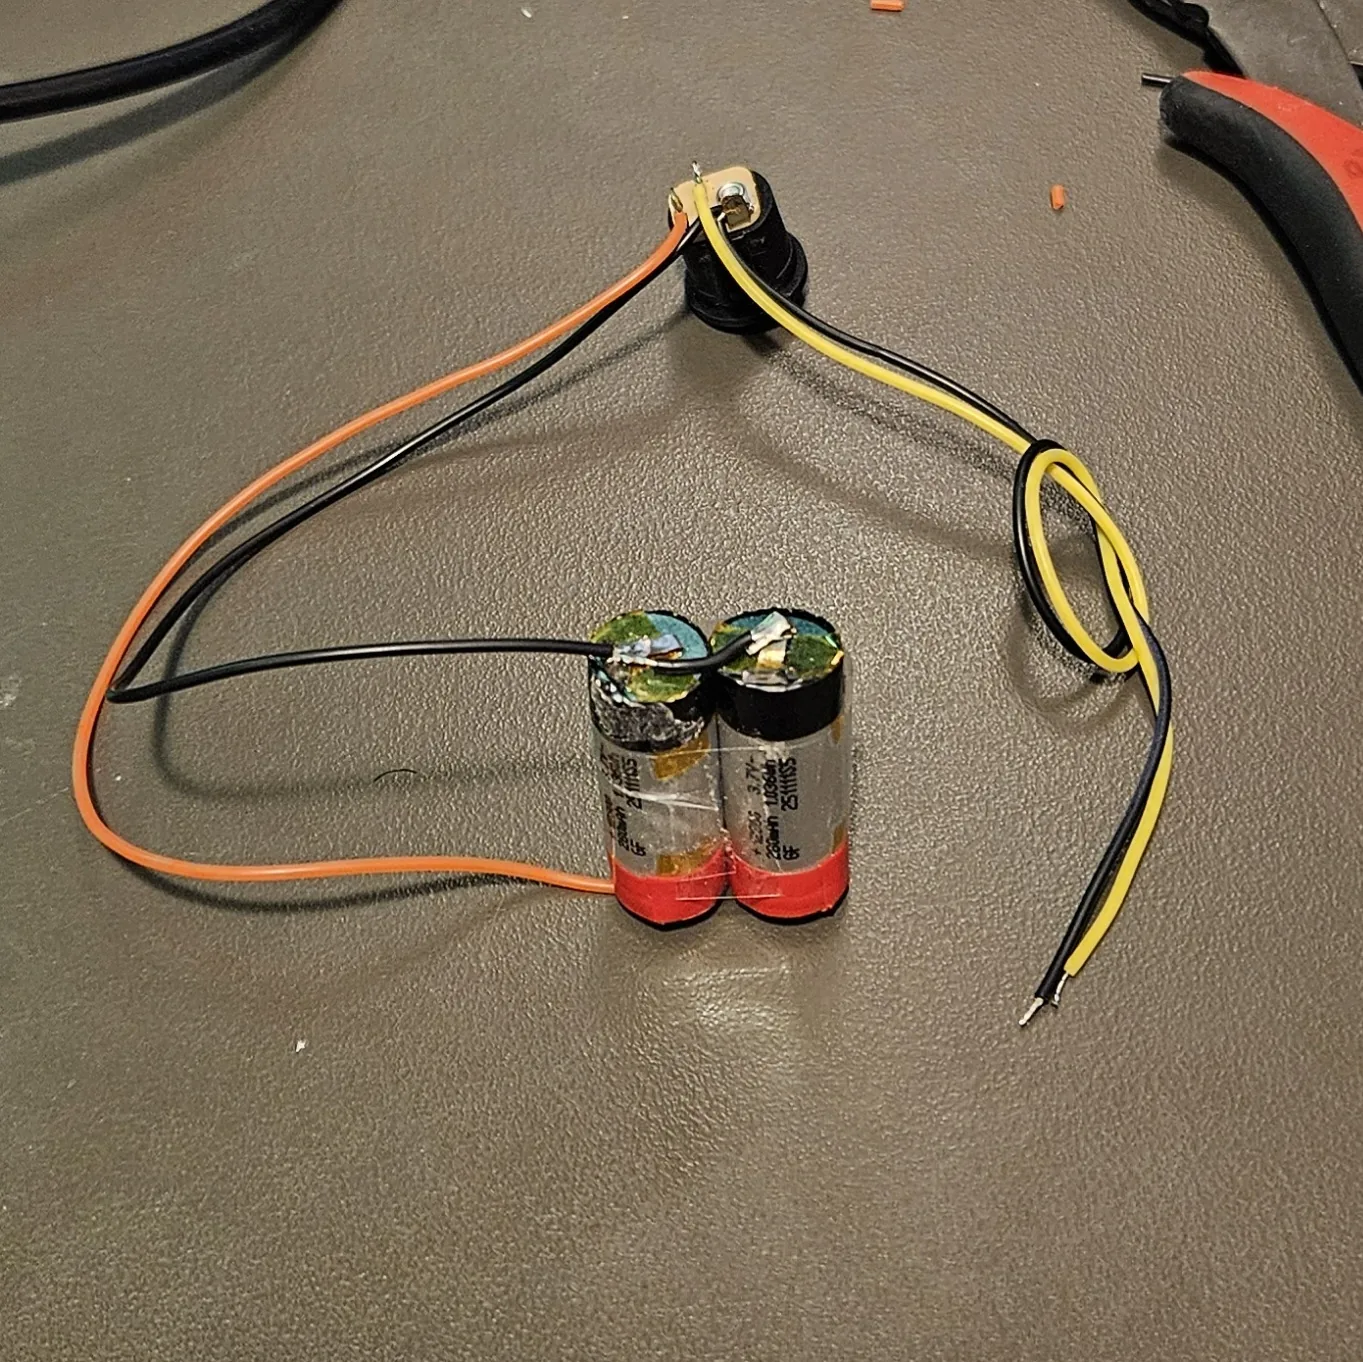
I used this pack to power my Love Eats Talk Box — that's a separate build, and the writeup isn't up yet.