Opto Duet CV PCB v1.1
2× NE555 on a 55 by 69 mm printed board, marked OPTO DUET CV v1.1 · By Onion Madder · Mess O' Pedals
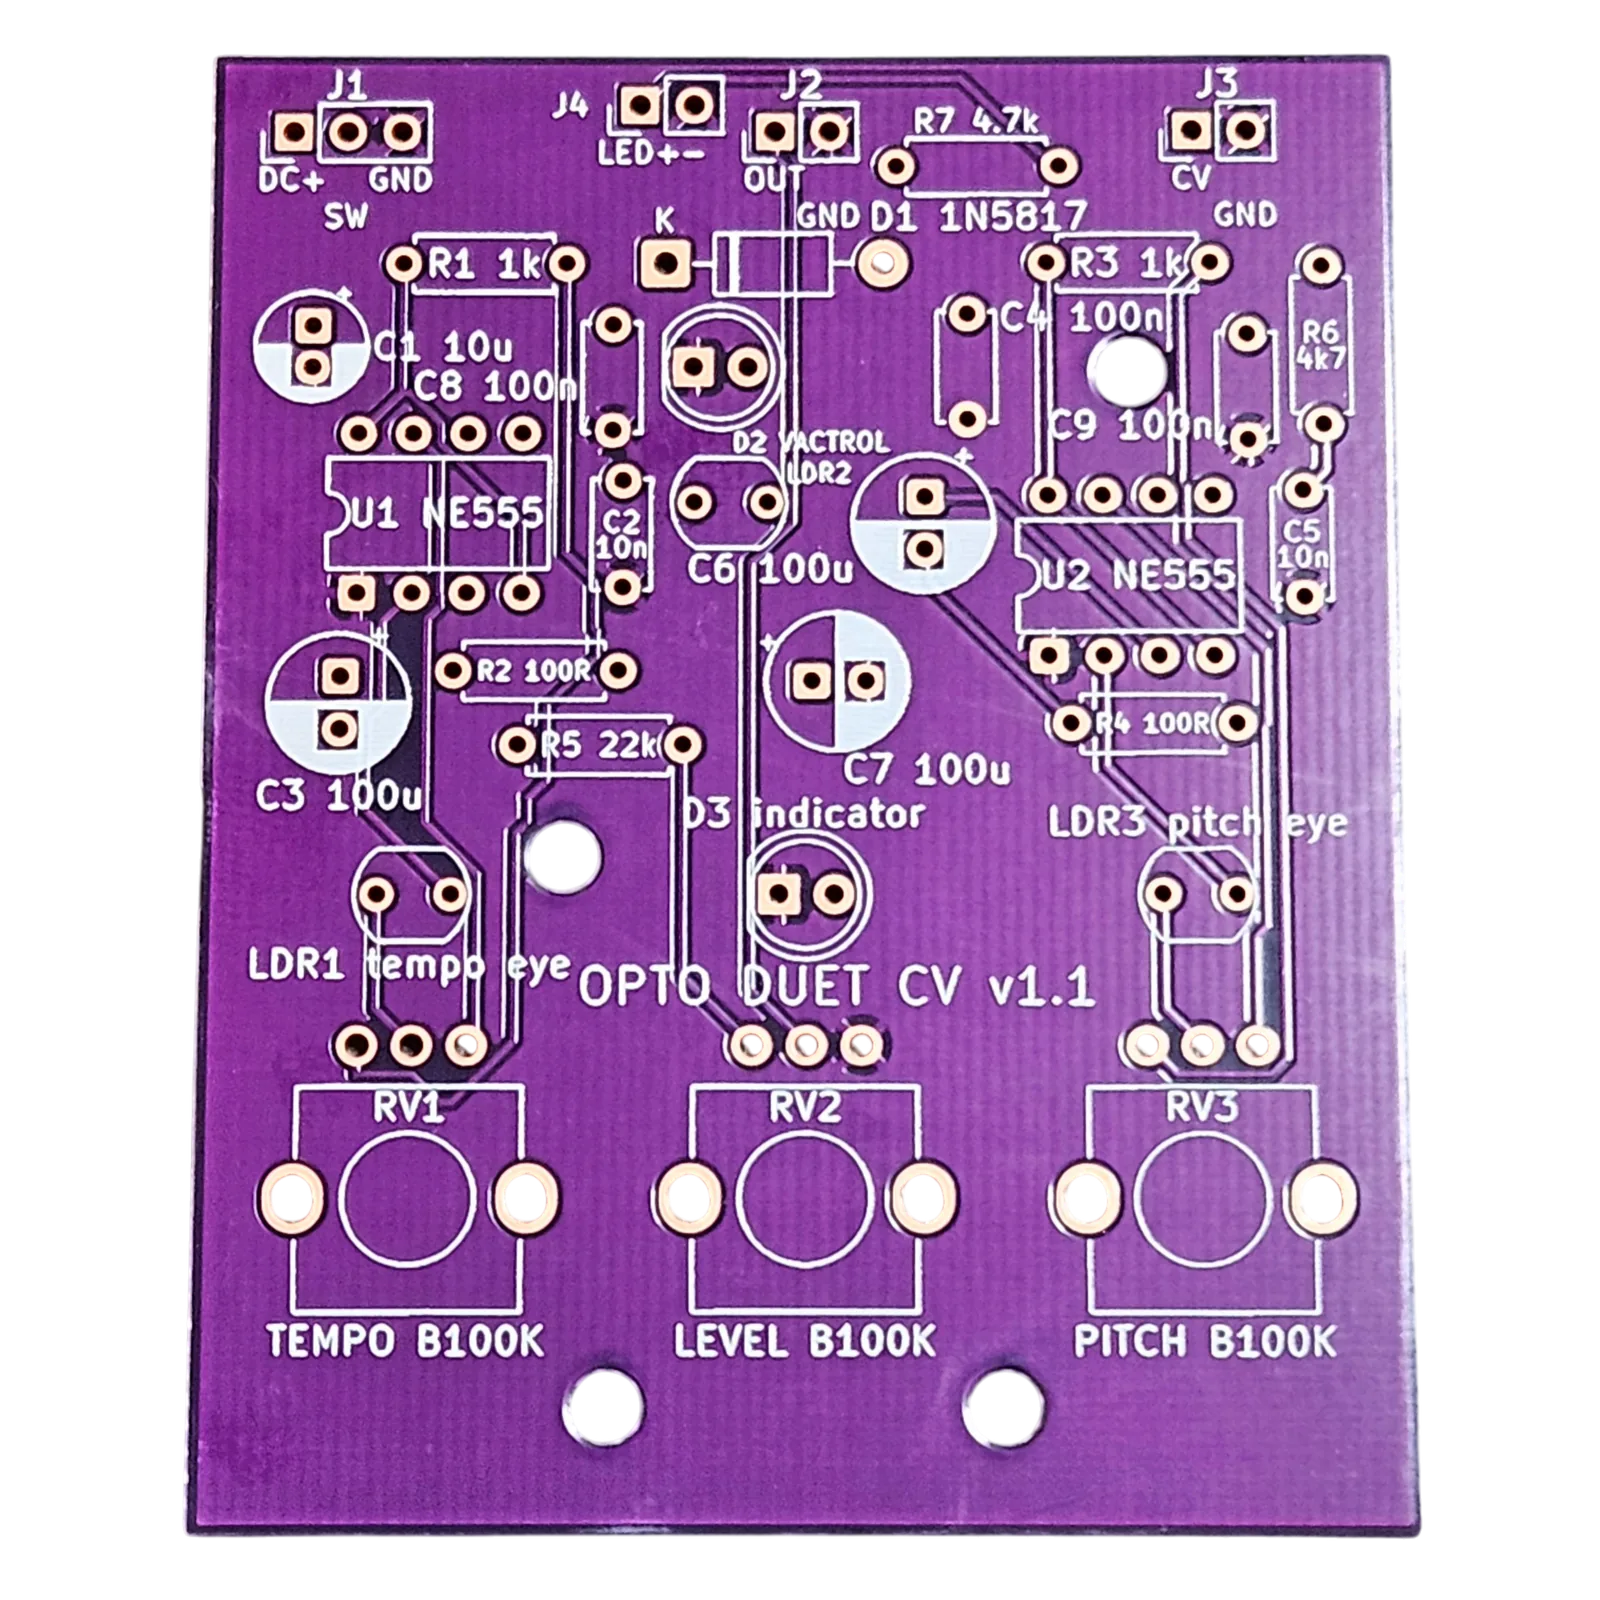
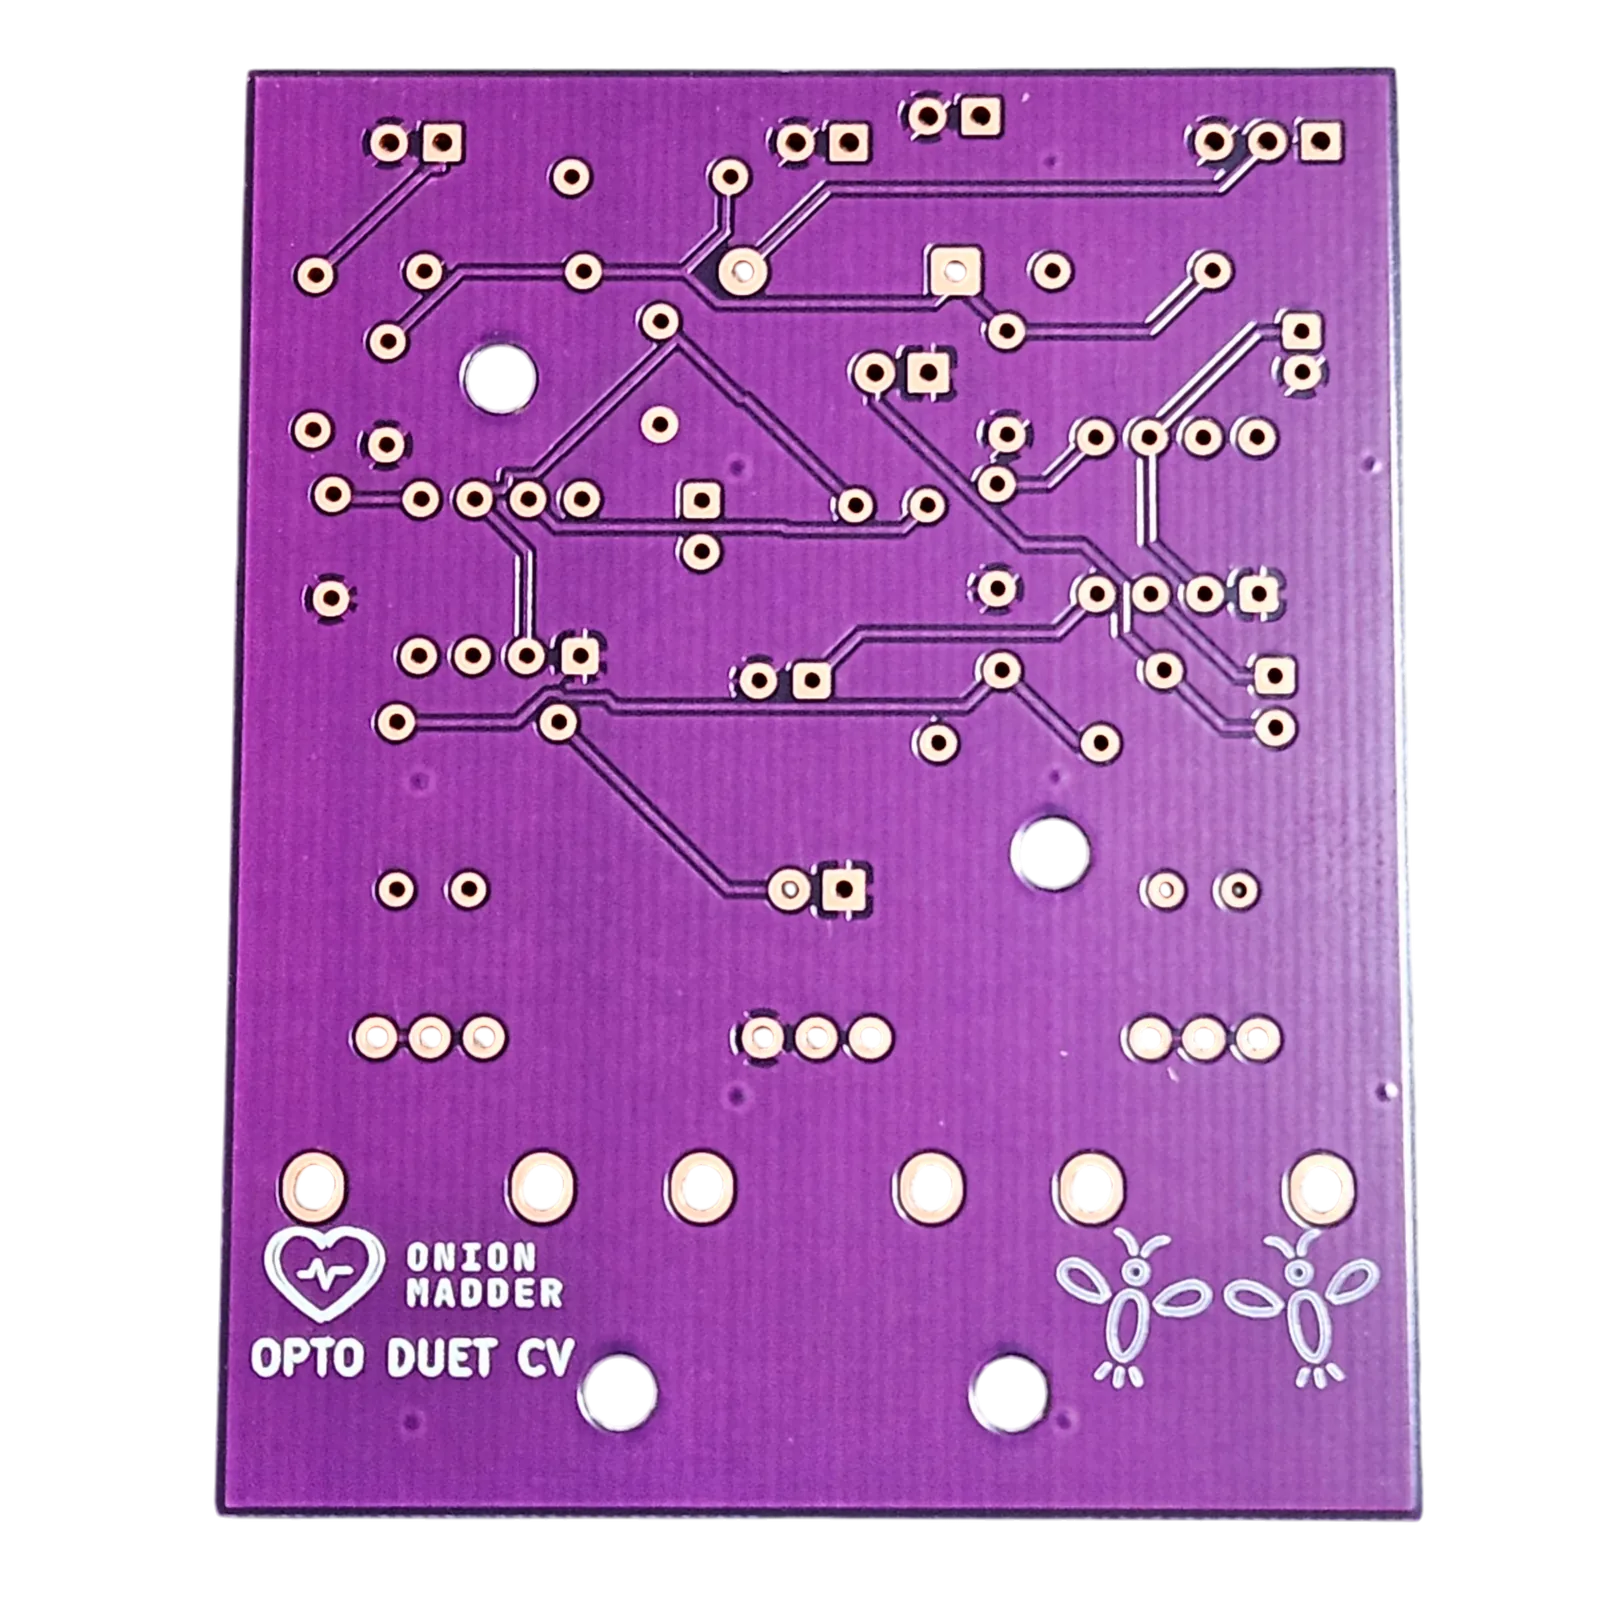
The Opto Duet CV on its v1.1 board. Two 555s chained by light: one sets the tempo, the other makes the tone, and a sealed LED and photocell pair lets the first play the second. TEMPO, LEVEL and PITCH are on the board, with a line output, a CV input on the pitch, and now a header for a power light.
What you'll need
tap to expand / collapse
27 parts on the board. The numbers in brackets are the ones printed on the board, and so is each part's value. ↓ Download the parts list (PDF), one page to print for the bench and tick off as each part goes in.
- 2× NE555 (U1, U2) - spot it: NE555 printed on top, a notch or dot marks pin 1. U1 is the engine, the slow one with the tempo; U2 is the voice
- 1× 22K resistor (R5) - spot it: bands red-red-orange. The two voices into the LEVEL pot
- 1× 4.7K resistor (R6) - spot it: bands yellow-violet-red. The pitch CV into U2's pin 5
- 2× 1K resistor (R1, R3) - spot it: bands brown-black-red. One per timing chain, in series with the TEMPO and PITCH pots
- 2× 100R resistor (R2, R4) - spot it: bands brown-black-brown. The two outputs, where they mix
- 2× 10nF ceramic (C2, C5) - spot it: printed 103. On each 555's pin 5
- 3× 100nF ceramic (C4, C8, C9) - spot it: printed 104. C4 is the voice's timing cap; C8 and C9 sit across the supply beside each 555
- 1× 10 µF electrolytic (C1) - spot it: a can with a stripe down the minus leg. The long leg goes in the square pad, marked +. The engine's timing cap, the part that turns a scream into a tick
- 3× 100 µF electrolytic (C3, C6, C7) - spot it: a can with a stripe down the minus leg. The long leg goes in the square pad, marked +. Two output caps and one across the supply
- 1× 1N5817 (D1) - spot it: black body, gray band. The band goes to the square pad, the end the board marks with a band and a K. Reverse-polarity protection on the supply
- 1× LED (D2) - The vactrol's LED, beside LDR2. The short leg, on the flat side of the rim, goes in the square pad
- 1× LED (D3) - On the voice's output, so it lights when the voice sounds. The short leg, on the flat side of the rim, goes in the square pad
- 1× photocell, an LDR (LDR1) - The tempo eye, above TEMPO. Either way around
- 1× photocell, an LDR (LDR2) - The vactrol's cell, beside D2. Either way around
- 1× photocell, an LDR (LDR3) - The pitch eye, above PITCH. Either way around
- 1× 4.7K resistor (R7) - spot it: bands yellow-violet-red. The power light's resistor
- 1× B100K pot, 9 mm, a Bourns PTV09A-4020F-B104 (RV1) - TEMPO. Spot it: the B is the linear taper.
- 1× B100K pot, 9 mm, a Bourns PTV09A-4020F-B104 (RV2) - LEVEL. Spot it: the B is the linear taper.
- 1× B100K pot, 9 mm, a Bourns PTV09A-4020F-B104 (RV3) - PITCH. Spot it: the B is the linear taper.
- 1× Opto Duet CV PCB v1.1
Off the board
- 1× DC jack and a 9V supply, center negative
- 1× SPST toggle for power, between the DC jack's + lug and SW
- 1× LED for power, on J4, if you want one
- 1× 3.5 mm mono jack for the output
- 1× 3.5 mm mono jack for the pitch CV
- Heat-shrink for the vactrol, to seal D2 and LDR2 face to face
- Hookup wire
What changed from v1.0
- The pots are 9 mm Bourns PTV09A-4s (TEMPO, LEVEL and PITCH), still soldered to the board, in place of v1.0's 16 mm pots.
- A power light header, J4. Its resistor, R7, 4.7K, is on the board.
- The ceramic caps' holes are 5.08 mm apart, not 2.5, so a dipped ceramic drops in flat with no leg to kink.
- Every value is printed on the board, on the part's outline or beside it, with its number.
- Four M3 mounting holes. These pots have no nut, so they do not hold the board to the face the way v1.0's did. The holes are for standoffs or screws.
- The circuit is v1.0's, every part and value, R7 aside. LEVEL is printed B100K, the pot I built mine with.
The headers
Everything that leaves the board leaves from a header, and each one has its pins labeled on the board. The square pad is pin 1, the first one named here.
| Header | Pins | Goes to |
|---|---|---|
| J1 | DC+ / SW / GND | Power, wired the usual way: the DC jack's + lug to one lug of the power toggle, the toggle's other lug to SW, and the jack's - lug to GND. On a center-negative supply the + is the jack's sleeve lug and the - is its center pin. SW is the board's power input, through D1, which guards against a supply plugged in the wrong way around. DC+ connects to nothing on the board: it is a spare pad to join the jack's + and the toggle on, if that is easier, and it can stay empty |
| J4 | LED+ / - | The power light, if you want one: the LED's long leg to LED+ and its short leg to -. Its resistor, R7, 4.7K, is on the board. It lights when the power toggle is on |
| J2 | OUT / GND | The output jack: tip to OUT, sleeve to GND |
| J3 | CV / GND | The pitch CV jack: tip to CV, sleeve to GND |
Building it
- Lowest parts first, so the board sits flat on the bench while you solder: resistors, then the diodes, then the small ceramic caps.
- Before any chip goes in, power it up once. Fit the DC jack and the power toggle on their header, switch on, and put the meter's black probe on a GND pin and the red one in U1's pin 8 hole, from the top. You want the supply, less about 0.2V for the diode. Nothing there, or the full supply with the leads reversed, means look at the diode's band before going on. Switch off.
- The chips (U1, U2), soldered straight in. Pin 1 goes to the square pad, the end the board marks with a notch.
- The electrolytics, long leg in the square pad, marked +, then the LEDs and the photocells. The two eyes (LDR1 and LDR3) and the indicator LED (D3) look out through the face, so leave their legs long: tack one leg, offer the board up to your drilled face, set the height, then solder the rest. D2 and LDR2 are the vactrol, sealed together in heat-shrink once both are in.
- The pots last. Each one's three legs go in the three round holes and its two side tabs in the two slots. Seat it flat on the board with its shaft square, then solder the legs and both tabs; a crooked pot is a hole that will not line up.
- Fixing it in the box. These pots have no nut, so they do not hold the board to the face. The four holes in the board are for M3 standoffs: screwed through the face, or the stick-on kind.
- The headers. Wire them to the jacks and switches in the table above.
The board's four M3 holes are on the sheet as small dashed circles. They are optional: screws through the face into standoffs, or stick-on standoffs and no holes at all.
Print at 100% / “Actual size”, never “Fit to page”, and check the bar measures exactly 4″ before you touch a drill.
Nobody has drilled this one yet, and how far the board sits behind the face is not measured: your standoffs set it. Offer the sheet up to your own box, board and parts before you make a hole.
The circuit and every part value are the Opto Duet CV PCB's, the v1.0 board. Board by Onion Madder.